Stance Width Squat Calculator
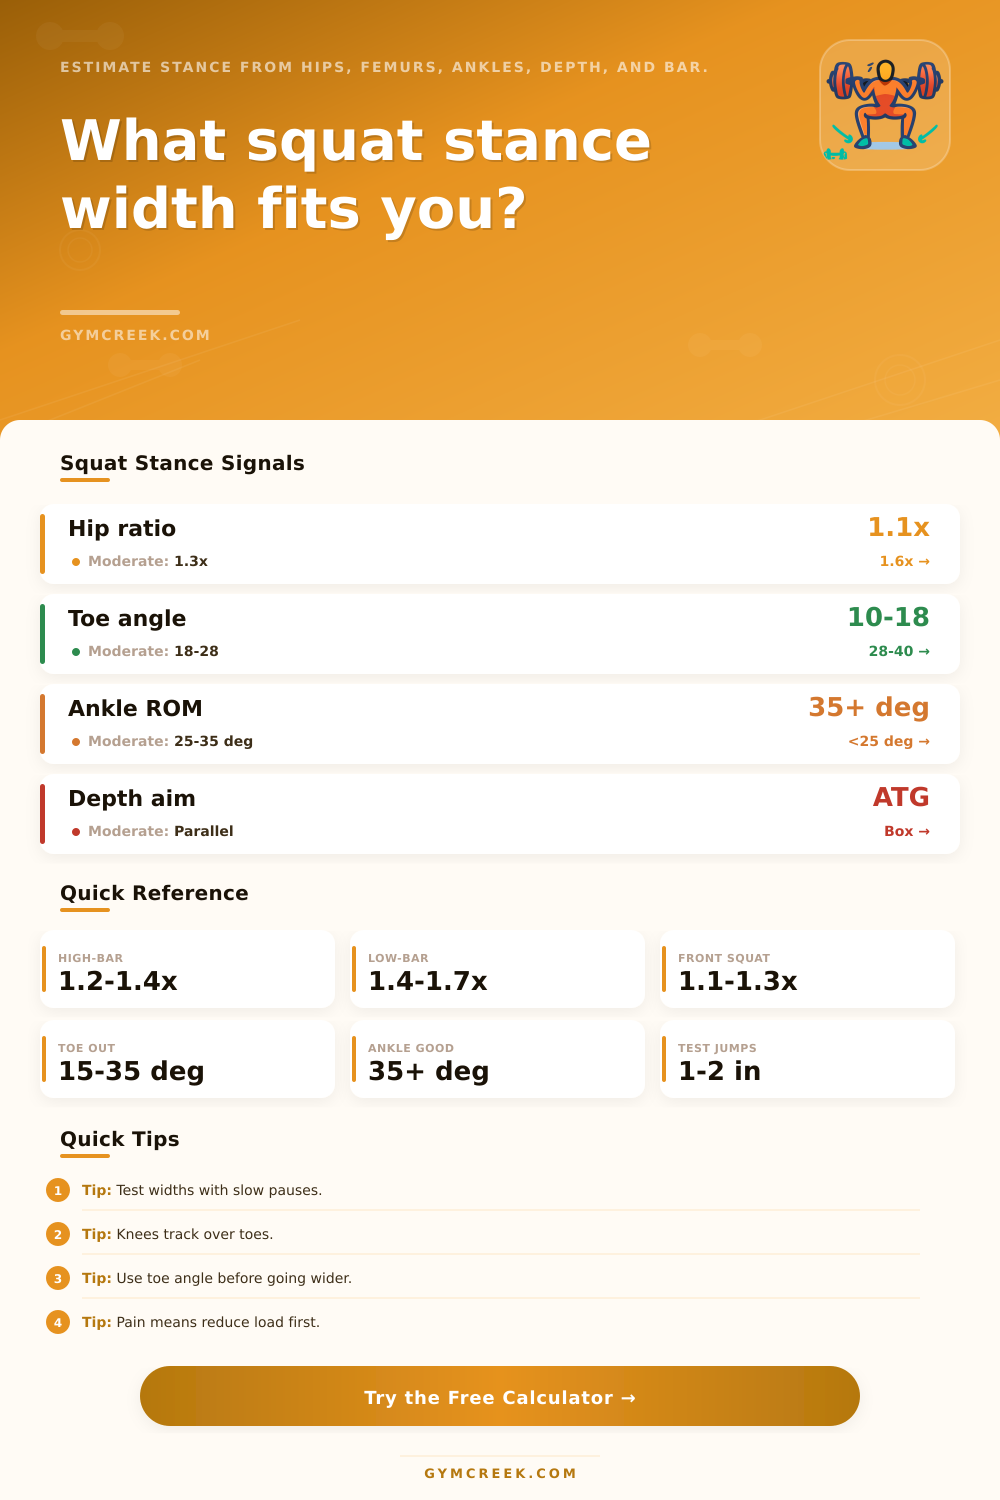
Estimate a practical squat stance from hip width, femur length, ankle mobility, squat style, bar position, toe angle, depth goal, shoes, and comfort.
📌Squat Stance Presets
Presets are starting points, not rules. Use them to compare how body proportions, ankle range, bar placement, and depth change the recommendation.
⚙Calculator Inputs
Squat stance snapshot
Enter your build, mobility, and squat style to calculate a repeatable stance width target.
📊Stance Metrics Grid
📑Squat Reference Tables
| Stance Band | Heel-to-Heel Ratio | Common Bar Position | Typical Use |
|---|---|---|---|
| Narrow | 1.05-1.25 x hip width | Front or high-bar | Upright torso, deeper knee travel |
| Moderate | 1.25-1.55 x hip width | High-bar or balanced low-bar | Most general strength squats |
| Wide | 1.55-1.85 x hip width | Low-bar or box squat | More hip contribution, less ankle demand |
| Very wide | 1.85 x hip width or more | Specialized low-bar | Use only if tracking and depth stay clean |
| Build or Mobility Signal | Stance Bias | Toe Angle Bias | Coaching Check |
|---|---|---|---|
| Long femur relative to hips | Slightly wider | More toe-out | Torso angle stays controlled |
| Limited ankle dorsiflexion | Wider or heeled shoe | Moderate toe-out | Heels stay down at depth |
| Excellent ankle range | Narrower allowed | Less toe-out | Knees move forward without collapse |
| Low comfort score | Smaller test window | No extreme angle | Pain-free reps decide the next step |
| Squat Style | Starting Width | Depth Priority | Adjustment Note |
|---|---|---|---|
| Olympic high-bar | Shoulder to moderate | Deep and upright | Use heel elevation before widening too far |
| Powerlifting low-bar | Moderate to wide | Competition depth | Keep knees and toes matched |
| Front squat | Narrow to moderate | Torso position | Too wide can block depth |
| Box squat | Moderate to wide | Repeatable target | Do not chase width if hips pinch |
| Result Signal | What It Means | Next Test | Stop Sign |
|---|---|---|---|
| Stable and deep | Stance likely fits | Add normal working sets | None if reps stay clean |
| Heels lift | Ankle demand too high | Try heel or slight width | Calf strain or toe gripping |
| Knees cave in | Angle or width mismatch | Toe out 3-5 degrees more | Knee pain or loss of control |
| Hip pinch | Stance may be too wide | Narrow by one increment | Sharp anterior hip pain |
💡Stance Testing Tips
Everything else follows from finding your right squat stance. If you’re just slightly off on your stance it may be hard to get through a strong set, but if your stance matches your body shape it’s usually easier to find your balance and go deeper. It doesn’t really come down to universal “wide” vs “narrow”. You have to select a stance that respects the position of the bar, your ankle range and femur length.
First things first: body proportions establish the starting point. If you have longer femurs compared to your hip width, this will typically cause your torso to lean forward at the bottom until you either angle your toes more or move your feet out. That’s not because you’re trying to chase a look. The idea is to keep bar path over center of your foot in order to maintain a balanced lift.
How to Find Your Right Squat Stance
The same applies to ankle mobility. When dorsiflexion are limited, your heels will want to lift during the descent. This forces your hips to carry more of the load and keeps your knees from moving forward as much. Often it simply requires a slight change in toe angle or a small increase in stance width before you should of reached for heel-elevated shoes.
That’s just one level of bar placement and depth goal. Because a high-bar or front squat position is more upright through the torso, your stance typically remain moderate. With a low bar, you can sit farther back onto your hips and tolerate a wider base. Similarly, aiming for a deeper, competitive squat vs. A controlled box alter the demands placed on your ankles and hips.
You don’t have to guess what’s the proper starting ratio; the calculator above takes care of that math once you plug in your preferences and measurements. A lot of lifters just go by feel and jump through several huge width at once. It is better to do it step by step and repeatedly.
Pick a width, pause for a few clean reps and see if you can plant your heels while keeping your knees tracking over your toes. Does one side seem tighter? Do you collapse into your depth? Adjust just the toe angle first. It’ll often restore control without having to widen and risk hip pinch.
Most folks don’t realize how much comfort matters. If you’re in the lower end of the comfort scale, typically that means something tweaked hasn’t settled up just yet, or the nervous system‘s got the joint protected somehow. Narrowing down the test window on such days will avoid the all-too-common error of trying to force a wider stance “because it went well last time with half the load.”
The tables in the page give the usual bands, so you’ll know if your number is within the moderate band, or on the wide side for some good reason. Now we get to put it to work with some working weight. It should keep its shape. Keep your knees aligned to your feet. Maintain depth. Sounds like a good advice.
Anything breaks? Go back and check again, moving one increment at a time instead of starting over. This methodical process make the whole thing honest. It transforms the calculator from a single guess at the beginning into something that becomes a useful reference as things change in training.