Resistance Band Calculator
Estimate working resistance, peak band tension, dumbbell equivalent, progression band choice, and volume load from band color, stretch length, anchor distance, movement, reps, target load, bodyweight, and stack count.
📌Band Training Presets
Presets fill realistic band setups. Adjust the stretch, anchor distance, stack count, or target load to match your own setup.
⚙Calculator Inputs
Resistance band load snapshot
Enter your band setup to estimate working tension, peak tension, equivalent dumbbell load, progression band, and volume load.
📊Metrics Grid
📑Reference Tables
| Band color | Typical rating | Best use | Training feel |
|---|---|---|---|
| Tan micro band | 2 to 6 lb | Rotator cuff, ankle work, and very light rehab drills. | Very light and easy to control. |
| Yellow light band | 5 to 15 lb | Activation work, warm-ups, pressdowns, pull-aparts, and early rehab. | Light tension with low joint stress. |
| Red medium band | 10 to 25 lb | Rows, curls, overhead presses, and loaded mobility work. | Moderate tension for higher reps. |
| Green firm band | 15 to 40 lb | Rows, presses, glute bridges, and light lower-body resistance. | Firm tension through the top range. |
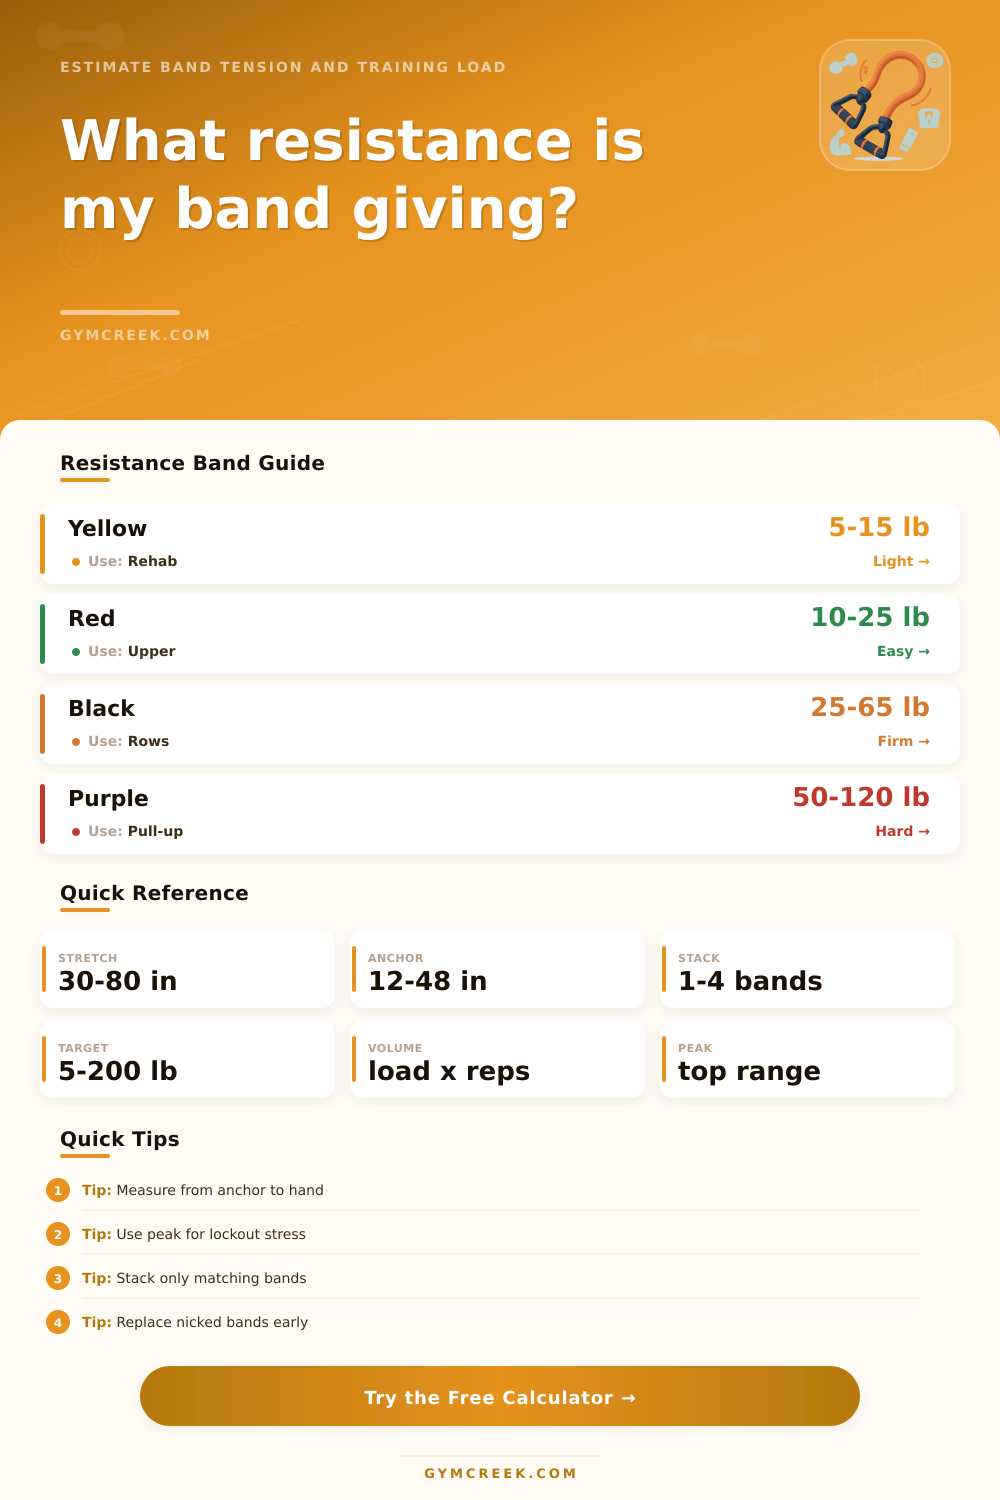
| Black strong band | 25 to 65 lb | Heavy rows, squats, deadlifts, and moderate pull-up assistance. | Strong tension with a steep finish. |
| Purple heavy band | 35 to 85 lb | Pull-up assistance, hip hinges, squats, and loaded hip work. | Heavy tension for strength work. |
| Blue extra heavy band | 50 to 120 lb | High assistance, resisted deadlifts, and heavier lower-body work. | Very heavy top-end tension. |
| Orange power band | 60 to 150 lb | Strong pull-up assistance, speed work, and strong lower-body anchors. | Powerful and difficult to control. |
| Gray monster band | 70 to 175 lb | Large assistance needs, heavy hinge work, and advanced band loading. | Extreme tension near lockout. |
| Custom band | User entered | Manufacturer-specific bands or measured tension setups. | Matches your entered low and high rating. |
| Movement | Model factor | Dumbbell read | Notes |
|---|---|---|---|
| Rows and presses | 0.92 to 0.96 | Often similar to total free-weight load. | Band angle and grip width can change actual force. |
| Squat or deadlift | 1.05 to 1.12 | Useful as extra lockout resistance. | Peak tension matters more than bottom tension. |
| Pull-up or dip assist | 1.00 to 1.04 | Equivalent is assistance, not added load. | Effective bodyweight equals bodyweight minus assistance. |
| Glute bridge and Pallof | 0.78 to 1.02 | Load depends heavily on band angle. | Keep anchor height and path consistent between sessions. |
| Elongation | Load zone | What it means | Adjustment |
|---|---|---|---|
| 0% to 35% | Low | Band is barely stretched and may feel slack early in the rep. | Step farther away or use a shorter anchor path. |
| 35% to 80% | Moderate | Good general training zone with controllable rising tension. | Use for rows, presses, curls, and warm-up sets. |
| 80% to 140% | High | Strong top-end loading and higher peak tension. | Use deliberate tempo and inspect the band before sets. |
| Over 140% | Very high | Many bands become hard to control and fatigue faster here. | Consider a lighter band or longer anchor distance. |
| Metric | Formula | Output | Use |
|---|---|---|---|
| Elongation | (stretch - anchor) / anchor | Percent | Shows how much the band is stretched beyond slack length. |
| Resistance | band midpoint x tension scale x stack x setup | Load | Estimates average working resistance at the hard point. |
| Peak tension | band high rating x peak scale x stack x setup | Load | Estimates the highest force near lockout or end range. |
| Volume load | equivalent load x reps | Load x reps | Tracks the set or short-circuit training load. |
💡Tips
Resistance bands are often seen as products that are to be taken on travel or for performing warm-ups with the body. However, resistance bands provides for the user varying levels of tension with the product based off how the resistance bands are stretched and anchored to the body. The tension provided by the bands can change based upon how stretched the bands are, and that change in tension is actualy important to those that perform there exercises with the bands in that it impacts how their training can progress.
To determine the amount of force that a set of resistance bands can provide, the calculator performs several different calculation. The first of these calculations is that of the stretch length, which is the distance from the anchor point to the users hand or foot at the point of the most difficult movement. The second measurement of the bands is the anchor distance, or the amount of slack that the bands have before they begin to provide resistance to the user.
How to Use a Resistance Band Calculator
These two measurements work together to calculate the total elongation that the resistance bands will have when in use, which allows the calculator to determine the tension that the bands will provide. The third of the factors that the calculator accounts for is the movement that the user is to perform with the bands. For example, rowing movements will load two arms of the body, whereas other exercises like squats or deadlifts will load the body along a single movement path.
Thus, the calculator incorporates a factor that accounts for the load that each movement can provide to the body. Additional factors to consider are the number of bands that is to be stacked, the way in which the bands are to be set up, the bodyweight of the individual that is performing the calculations, and the way in which the resistance bands are to be set up. For example, if two identical resistance bands are to be used simultaneously, the resistance that the bands will provide will not double in strength simply due to the fact that two bands are being used; the resistance band setups account for this change in strength with the doubling of the resistance bands.
In addition, body weight is only accounted for in situations in which the bands assist the movements, such as performing pull-ups or dips with the bands; the bands will subtract from the body weight of the user in these instances. The calculator also provides outputs to the users that will assist in making decisions regarding their training. For instance, the calculator can provide an estimation of the resistance that the bands will provide when performing the exercises.
Additionally, the bands will provide information regarding the peak amount of tension that will be placed into the bands during those exercises. Another output provides information regarding the equivalent amount of dumbbells that would of been required to provide the same amount of resistance for the individual performing the exercises. The volume load is the dumbbell equivalent of the resistance bands multiplied by the number of repetitions of the exercise.
Finally, the resistance bands can provide information regarding the color of the next set of resistance bands that the user should purchase to increase the difficulty of their exercises. Many individuals make the mistake of assuming that the ratings of the resistance bands are the amount of force that those bands will provide. However, the ratings of the bands are not the same as the amount of force that those bands provide; instead, the bands have varying amounts of tension with their stretching.
For example, a resistance band that is rated at 25 to 65 pounds of resistance will not necessarily provide 45 pounds (the average of the range of numbers) of resistance at any point with the band. The tension of the bands increases with the amount of stretch of the bands, as well as the angle at which they are looped around the body. In each exercise, it is recommended that the user measures the distance from the anchor point of the band to the users hand (or foot) at the point of the most difficult movement in the exercise; this provides a more accurate measurement of the tension that the band provided.
Small alterations of the anchor distance will have an impact upon the results of the calculations; thus, the distance should be held constant for each user to accurately track there individual progress with the bands. Reference tables include information regarding the weights of each color of resistance bands. These tables also indicate the force that the bands provide based upon their elongation.
Additionally, information included in tables within the article provide explanations for why some bands may feel slack at the start to certain movements but difficult to control during the last few movements. Each of these tables is more important than the rating that is printed on the bands. In order to use the calculator effectively, each user can select a movement, an anchor distance, and a number of bands to use.
Each of these three variables can be held constant for several weeks. During those periods, the calculator can be used to compare the resistance bands of different training sessions. Thus, with each of these variables held constant, the user can determine if altering the color of the bands or the stretch distance actualy allows that individual to move closer to their goal for that exercise.