Range of Motion Calculator
Compare start and end joint angles, target ROM, pain-free limit, load, tempo, and mobility goal in one training-ready snapshot.
📌ROM Presets
Each preset loads a realistic training scenario and keeps the interpretation practical: usable arc, target gap, and a suggested progression lane.
⚙Calculator
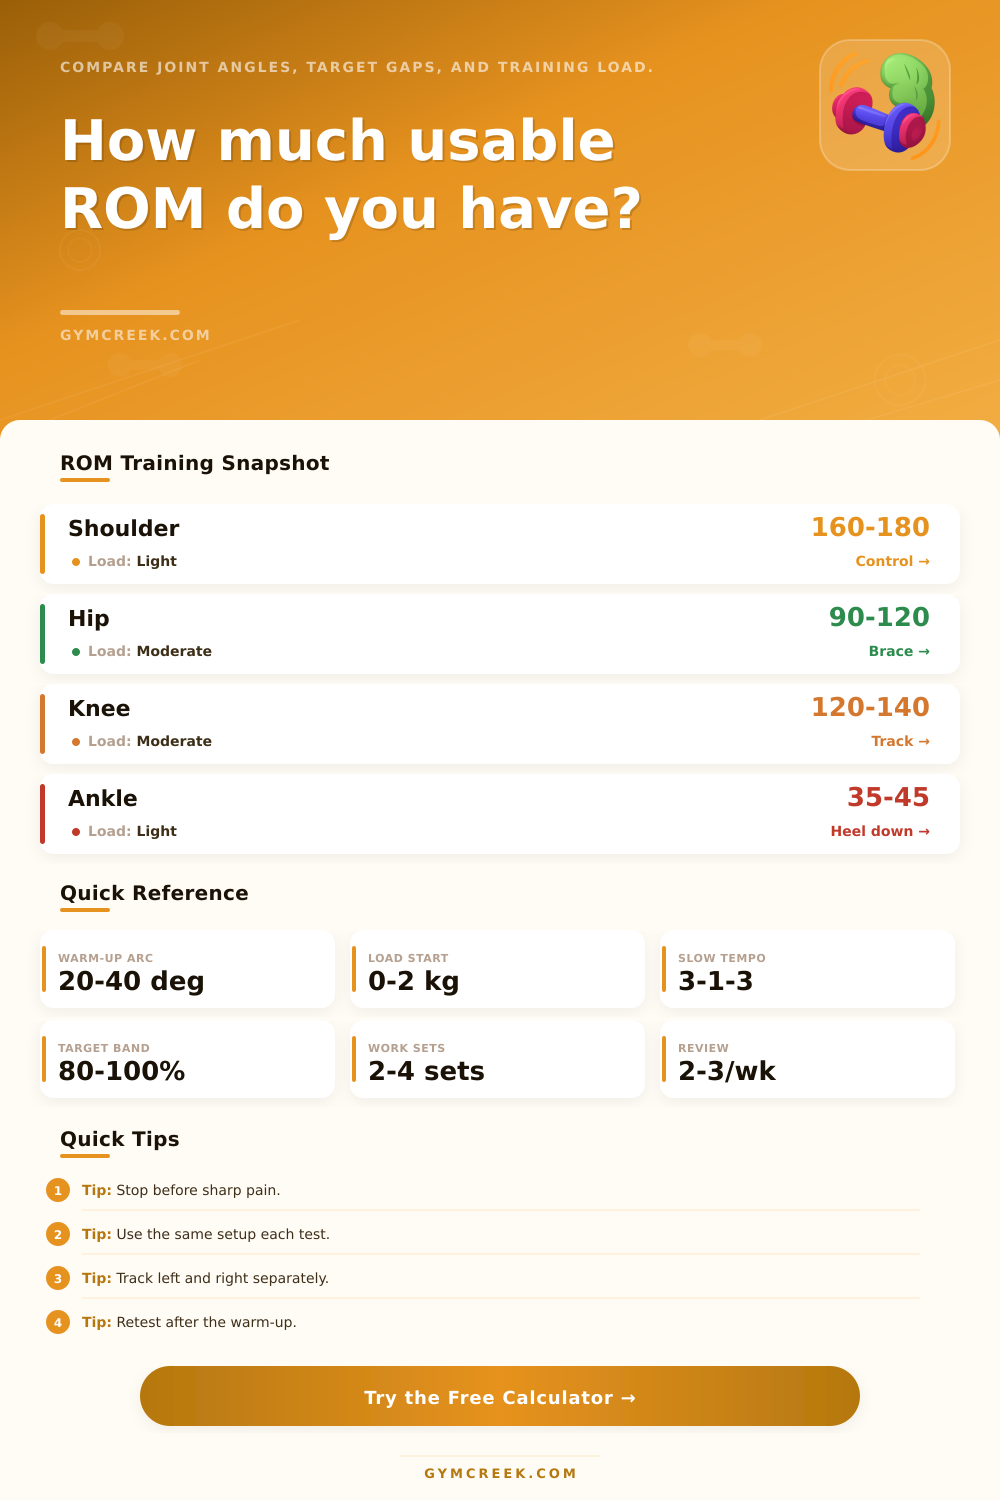
ROM training snapshot
Enter your angles, target, pain-free limit, load, and tempo to calculate a usable training arc.
📊ROM Metrics Grid
📑Reference Tables
| Exercise | Angle Focus | Useful Target | Training Note |
|---|---|---|---|
| Shoulder wall slide | Flexion | 160-180° | Ribs down, smooth reach |
| Deep squat | Knee flexion | 120-140° | Track knees over toes |
| Hip hinge | Hip flexion | 90-120° | Keep spine position quiet |
| Ankle wall drill | Dorsiflexion | 35-45° | Heel stays grounded |
| Front rack prep | Wrist extension | 60-80° | Use light pressure only |
| Goal | Preferred Arc | Load Choice | Tempo Fit |
|---|---|---|---|
| Warm-up readiness | Comfortable range | Unloaded to light | 2-0-2 or 3-1-3 |
| Technique range | Exercise-specific | Light to moderate | 3-1-3 controlled |
| Mobility expansion | Near target | Light first | 4-2-4 slow |
| End-range control | Pain-free end range | Very light | 5-3-5 deliberate |
| Symmetry check | Same setup both sides | Usually unloaded | 2-0-2 repeatable |
| Load Flag | External Load | ROM Priority | Adjustment |
|---|---|---|---|
| Unloaded | 0 | Measure cleanly | Retest after warm-up |
| Light | 1-10 lb | Control and breathing | Add pause if stable |
| Moderate | 10-35 lb | Technique range | Reduce if arc shortens |
| Heavy | 35+ lb | Strength range | Keep ROM conservative |
| Result Zone | Score Range | Meaning | Next Step |
|---|---|---|---|
| Build capacity | 90-100% | Target is nearly met | Add gentle load or reps |
| Practice range | 75-89% | Useful ROM is close | Keep tempo controlled |
| Expand slowly | 50-74% | Gap needs attention | Use unloaded repeats |
| Regress setup | Under 50% | Target is too far today | Shorten the arc |
💡Tips
A typical starting point for range of motion work is a seemingly easy yet complex question: What’s limiting you? Is it a lack of mobility in the tissues, a nervous system issue, or are you limiting yourself based off how you’re being tested? This is important because each will guide what you do next. Are you going to slow down and go lighter, are you going to add load, or stop all together?
Sometimes it’s just a couple more degree. With the calculator, you input your starting angle and ending angle for an exercise. Then it compares that with a number you’re aiming for in your daily life or sport. It will also prompt you for how far away from that you can go until it hurts. Testing yourself can make the range of motion you measure easily overlap with the range that doesn’t hurt. Maintaining the difference here will keep training honest.
How to Know What Is Stopping Your Movement
A big difference between the two mean your joint isn’t tight, it lacks control. More likely it’s going to require some stability work prior to any further stretching. The same is true of load and tempo. Even though structure of your joints may remain unchanged, adding weight to movement reduces how much motion there is available. Often slowing it down expose some compensation that goes away at normal speeds. These variables are all combined in the snapshot that is the tool.
Is what you are doing helping or just masking the true limitation? A lot of folks never get here then ask why they aren’t making progress in a couple weeks. There are also reference tables that show how different joint serve distinct purposes. For example, your shoulder might only need to reach 160 degrees during a typical day and is therefore short in the overhead press. Or, your ankle might limit motion at 35 degrees, which is enough for standing upright but prevents maximum squat depth as the knee move forward.
Then it’s not about how much flexibility we’re chasing (it’s about the context), so we don’t chase generic flexibility numbers. Consider symmetry tests too. On first glance at your screen you might think there isn’t much difference running down each side. But in training it can feel like they’re worlds apart. If you run the same test down both sides that perception becomes numbers.
These numbers shift over time and can be watched. Gradual small discrepancies tend to cause less concern then an acute change on just one side. Weeks later you can see why it’s worth tracking this stuff. After repeated practice on the same test, you’re back at that spot. There is more usable arc than before but your pain-free point hasn’t changed. That tells us the joint become longer AND more under control. It was not just a simple stretch response, but something real.
On the flip side, if your measured range increases but your pain-free range doesn’t, then that additional range might be coming at the expense of tissue tolerance. Don’t mistake any of this for a substitute for expert diagnosis if the pain lingers or is severe. Instead, it removes the guesswork from sessions you are already conducting. It should of been a brief record to help you connect random notes with purpose and use.
Repeating measurements over time improves them. That becomes a feedback loop. This becomes a way to keep your mobility work focused rather than wishfuly.