Rack Pull Load Calculator
Estimate rack pull 1RM, full deadlift carryover, suggested working load, weekly volume, and relative strength using rack height, reps, RPE, stance, and goal.
📌Presets
Each preset loads a realistic rack pull scenario and recalculates the estimate using the selected unit system, pin height, stance, goal, and set effort.
⚙Calculator
Rack pull load snapshot
Enter a completed rack pull set to estimate max strength and target loading.
📊Fitness Metrics Comparison
📑Reference Tables
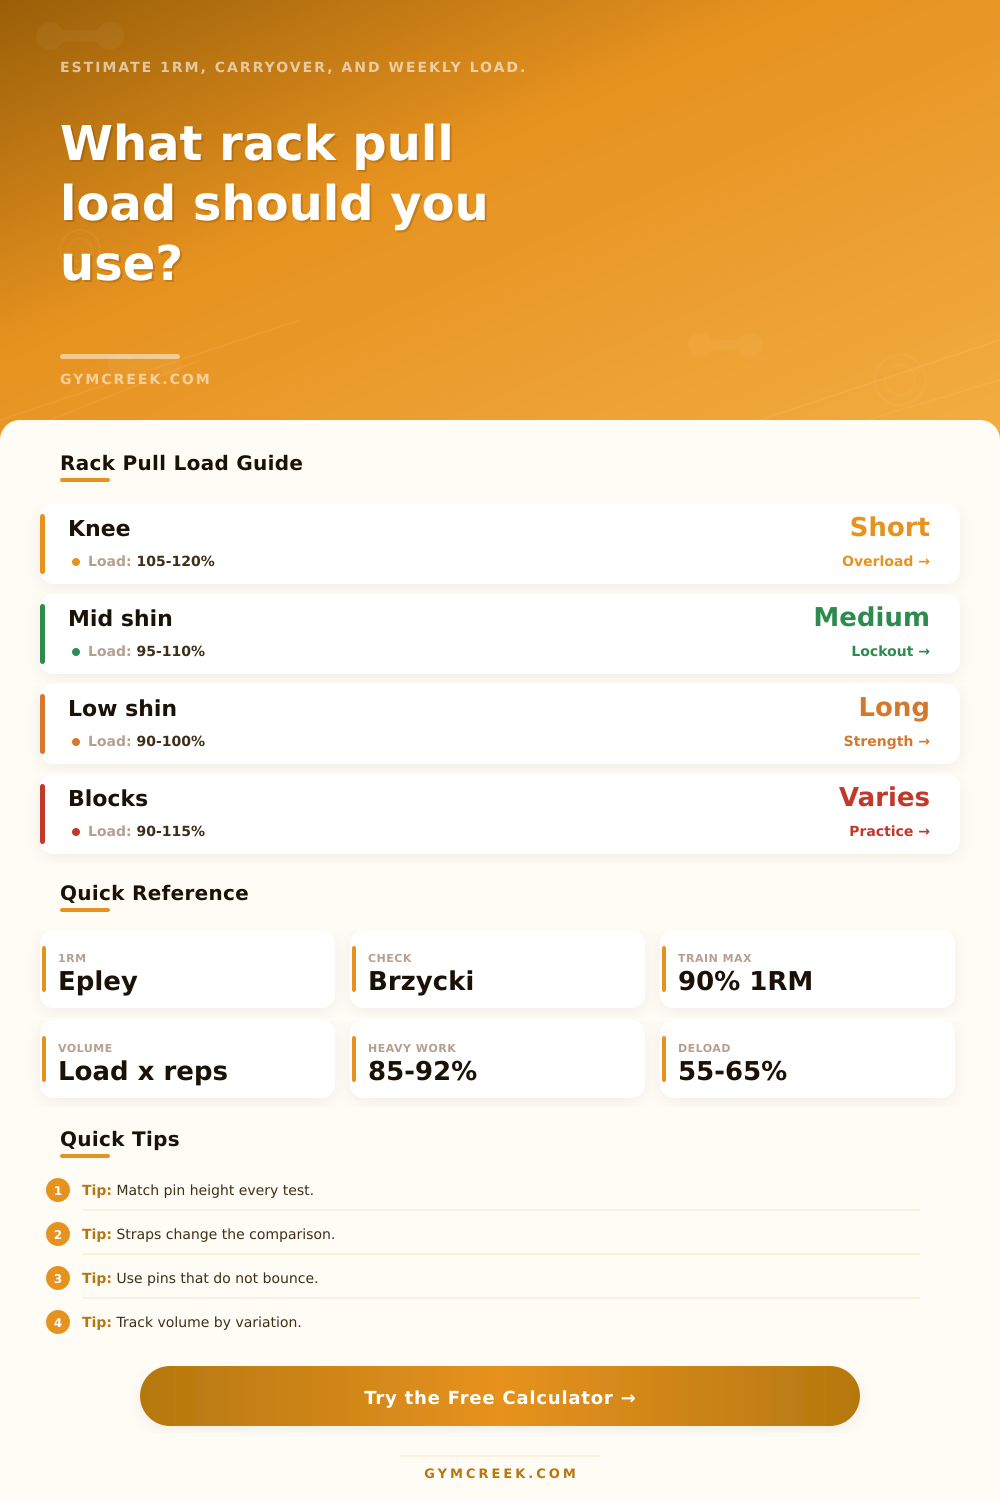
| Pin Height | Typical Load | Deadlift Carryover | Best Use |
|---|---|---|---|
| Above knee | 110-125% of floor deadlift | Low to moderate | Top-end overload and grip tolerance |
| Knee level | 105-120% of floor deadlift | Moderate | Lockout strength and heavy exposure |
| Mid shin | 95-110% of floor deadlift | Moderate to high | Sticking-point strength |
| Low shin | 90-102% of floor deadlift | High | Deadlift-specific pulling practice |
| Goal | Common Reps | Target Percent | Usual RPE |
|---|---|---|---|
| Max overload lockout | 1-3 reps | 88-94% of rack training max | 8-10 |
| Strength from pins | 3-5 reps | 80-88% of rack training max | 7-9 |
| Deadlift carryover | 2-5 reps | 76-84% of rack training max | 7-9 |
| Posterior-chain volume | 6-10 reps | 65-78% of rack training max | 7-9 |
| Technique or deload | 3-6 reps | 55-68% of rack training max | 5-7 |
| Relative Rack 1RM | Male Category | Female Category | Open Note |
|---|---|---|---|
| Under 1.00x BW | Beginner | Novice range | Build consistent setup |
| 1.00-1.75x BW | Novice | Intermediate | Solid training base |
| 1.75-2.50x BW | Intermediate | Advanced | Strong partial pull |
| 2.50x+ BW | Advanced | High advanced | Specialized strength |
| Formula | Variables | Output | When Useful |
|---|---|---|---|
| Epley 1RM | Load x (1 + reps / 30) | Rack max estimate | 1-10 clean reps |
| Brzycki check | Load x 36 / (37 - reps) | Max cross-check | 1-10 reps |
| Training max | Rack 1RM x 0.90 | Planning max | Repeatable loading |
| Carryover model | Rack 1RM / height factor | Floor estimate | Comparing variations |
| Volume load | Load x reps x sets x frequency | Weekly work | Fatigue tracking |
💡Tips
When pulling off the floor, you’re putting your lower back under some pressure. If you’ve ever felt any kind of pain there, you know what I’m talking about. It sucks, particulary during those workouts where you’re fried and lifting super heavy weights. That’s why the rack pull exists. It helps you overload the top portion of your lift. That’s where most of your strength lies.
Unfortunately, you’ll see many lifters sabotage themselves with this movement. They’ll just start grabbing plates until it gets “heavy” then wing it. No thought is given to volume or leverage. When you do this, you’re turning a helpful accessory into a complete waste of time at gym.
How to Use Rack Pulls Safely and Effectively
Partial pulls are different than full range lifts; in terms of the math. Because of that, your normal percentages don’t transfer over. Everything about the mechanics will change as pins rise in height. When you pull from above the knee, you’re basically performing a static hold with a short shrug on top. In other words, you’re able to move more weight than you could from the floor. Stronger lifters have been known to push upwards of double bodyweight in this range. However, it’s important to note this particular range teach almost no hip hinge momentum at all. So there’s not much carryover onto an actual deadlift day unless used strategically.
For most folks, pulling from mid shin hits a good happy medium while still engaging the hamstrings/glutes. It also enables them to lift heavier loads than they would from the floor. As you go lower into low pin pulls, you’ll find yourself getting even closer to the full movement pattern. This makes it a safer bet if you want to build strength that actualy transfers to competition day.
When you input what you believe to be the maximum amount of weight you can possibly lift, make sure to include how many reps you performed along with what effort level you felt was required. During your training session, a five-rep set performed at an eight RPE doesn’t seem so bad. When it’s translated into a one-rep max estimate, however, it’s a completely different story. For example, three reps at a 10 feels much more different than five. There are formulas such as Brzycki and Epley which has been developed over the years, but don’t worry; this calculator does all the math for you. This way you don’t have to guess if you should of attempt a new personal record next time you’re in the gym after a heavy set.
Remember to consider your total volume per week as well. Although the range of motion isn’t as long, rack pulls can be extremely demanding on the central nervous system. Most people tend to neglect the recovery period between each rep when performing partials (hey, they’re supposed to be easy). Because of this, doing too many sets at high intensity levels cause burnout quicker than full range reps.
The other thing you’ll notice that’s often overlooked is consistency of setup. If you use raw grip for one workout and then lifting straps the next time around…that completely messes up any comparisons you want to draw based off the numbers. On heavy rack pulls, your hands will give out well before your back. That means using different types of assistance tools create noise in your data, which prevents you from knowing if you’re progressing.
The chart on the page breaks down various pin heights and what they are intended for. Use that as a reference to decide if you need to fix a sticking point or overload. Pick one variation and run with it for a mesocycle. Don’t change your pin height every week depending on how your legs feel that morning.
The other factor that matters subtly yet greatly when it comes to shifting more weight is grip style. The hook grip will build crushing forearm endurance which pays off down the road. The mixed grip lets you handle bigger loads, but adds torque to the spine some lifters won’t be able to withstand. And trap bar pulls off blocks give you an easy-on-the-joints neutral hand position. However, they do shift the center of mass somewhat different than a traditional barbell does. Understanding all these nuances enables you to tailor accessory work specifically to your weaknesses rather than blindly following some generic program you saw online.
Want to improve your lockout? Go up high on the rack and push near maximum loads with lower rep counts. Struggling with your first pull? Drop the pins low. Really drive through your heels. Use good hip extension timing. But even beyond moving more weight on a partial rep, we’re looking to transfer that strength into improved performance during all our lifts. By performing rack pulls, you can work on spending time under tension in the most challenging segments of the movement pattern.
In a full-range pull, different parts of your body experience different levels of stress. That’s the beauty of this targeted approach: It builds resilience in areas that count the most without risking injury. It is easy to get carried away with the ego boost of lifting weights that dwarf your regular deadlift totals. Remember the reason you’re doing this in the first place. It is not because of bigger numbers on a plate loaded for no reason. You want thicker traps and a stronger back.
Partial movements conceal any technical shortcomings. So, start light and execute perfect form for each and every rep. When you dial-in the set up, add a little weight, then pay attention to how well you recover after your session. Be sure to keep good tabs on your volume, overtraining the posterior chain can hurt your squat performance as much as it does your pulling ability.
The point is, don’t go chasing all those personal records on an exercise that doesn’t matter outside of the gym. Let the strength build naturaly over time; use the data to help guide your next block. So pull smart, keep good tabs on your work, and build yourself into a stronger body with better habits through the barbell; it’s just a tool for that.