Peaking Program Calculator
Estimate how many peak weeks you have, set a training max, taper volume, ramp intensity, manage fatigue, and choose practical test-day attempts for a lift.
📌Presets
Each preset fills a meet or test-day scenario, including lift, current 1RM, weekly volume, fatigue, and peak strategy.
⚙Calculator
Peaking program estimate
Set the meet date and current training profile to build a taper.
📊Peak Metrics
📑Reference Tables
| Week | Main Goal | Top Single | Volume | Notes |
|---|---|---|---|---|
| Calculate to build the weekly peak outline. | ||||
| Strategy | Volume Taper | Intensity Ramp | Best Fit |
|---|---|---|---|
| Balanced | Moderate | Steady | Most trained lifters |
| Conservative | Earlier | Lower cap | High fatigue or first meet |
| Aggressive | Sharper | Higher cap | Experienced, low fatigue |
| Novice | Small drop | Skill focus | Practice attempts |
| Strength | High to low | Heavy singles | Realization blocks |
| Fatigue | Large drop | Minimal grind | Beat-up athletes |
| Lift | Opener | Peak Single | Volume Cue |
|---|---|---|---|
| Squat | 88-92% | 92-97% | Cut reps early |
| Bench | 89-94% | 93-98% | Keep frequency |
| Deadlift | 86-91% | 90-96% | Pull volume drops hard |
| Front squat | 86-91% | 90-95% | Protect positions |
| Overhead press | 87-92% | 91-96% | Small jumps matter |
| Total | 87-92% | 91-96% | Manage fatigue across lifts |
| Fatigue | Read | Taper Move | Single Cap |
|---|---|---|---|
| 1-3 | Fresh | Normal taper | RPE 8-8.5 |
| 4-6 | Manageable | Cut accessories | RPE 8 |
| 7-8 | Accumulated | Drop sets first | RPE 7.5-8 |
| 9-10 | Overreached | Deload now | RPE 7 |
| Formula | Variables | Output | Use |
|---|---|---|---|
| TM = 1RM x pct | Max, percent | Training max | Daily loading anchor |
| Taper = reps x drop | Volume, fatigue | Final reps | Manage freshness |
| Peak single | TM, strategy | Top single | Practice confidence |
| Attempts | 1RM, readiness | Open/2nd/3rd | Test-day plan |
💡Tips
Adding extra weight to bar won’t turn a good meet into a great one. Instead, you plan your weeks such that the strength you have appear at the right moment: when the clock is ticking and the bar’s on your shoulders. I think most lifters gets this intellectually; the challenge lie in making it a usable strategy based off fatigue, travel, sleep, and daily life pushing back.
All you do is input your most recent 1RM. Enter how many times per week you’re doing heavy reps. Input what your average intensity has been and how fatigued you feel on a scale of one-to-ten. Then, let the calculator crunch numbers. Inputting those four variables will spread them over remaining weeks. The only caveat is that you should of know why the numbers change the result.
How to Plan for Competition Day
For example, a higher start score for fatigue doesn’t just reduce your estimated number. It also reduces amount of time you can safely increases intensity before you have to cut volume, because your body needs more rest days to regain bar speed. Likewise, increasing age or decreasing activity level also adjust the readiness score… The attempt plan won’t presume you’ll bounce back as quick as a two-twenty-something who trains full-time.
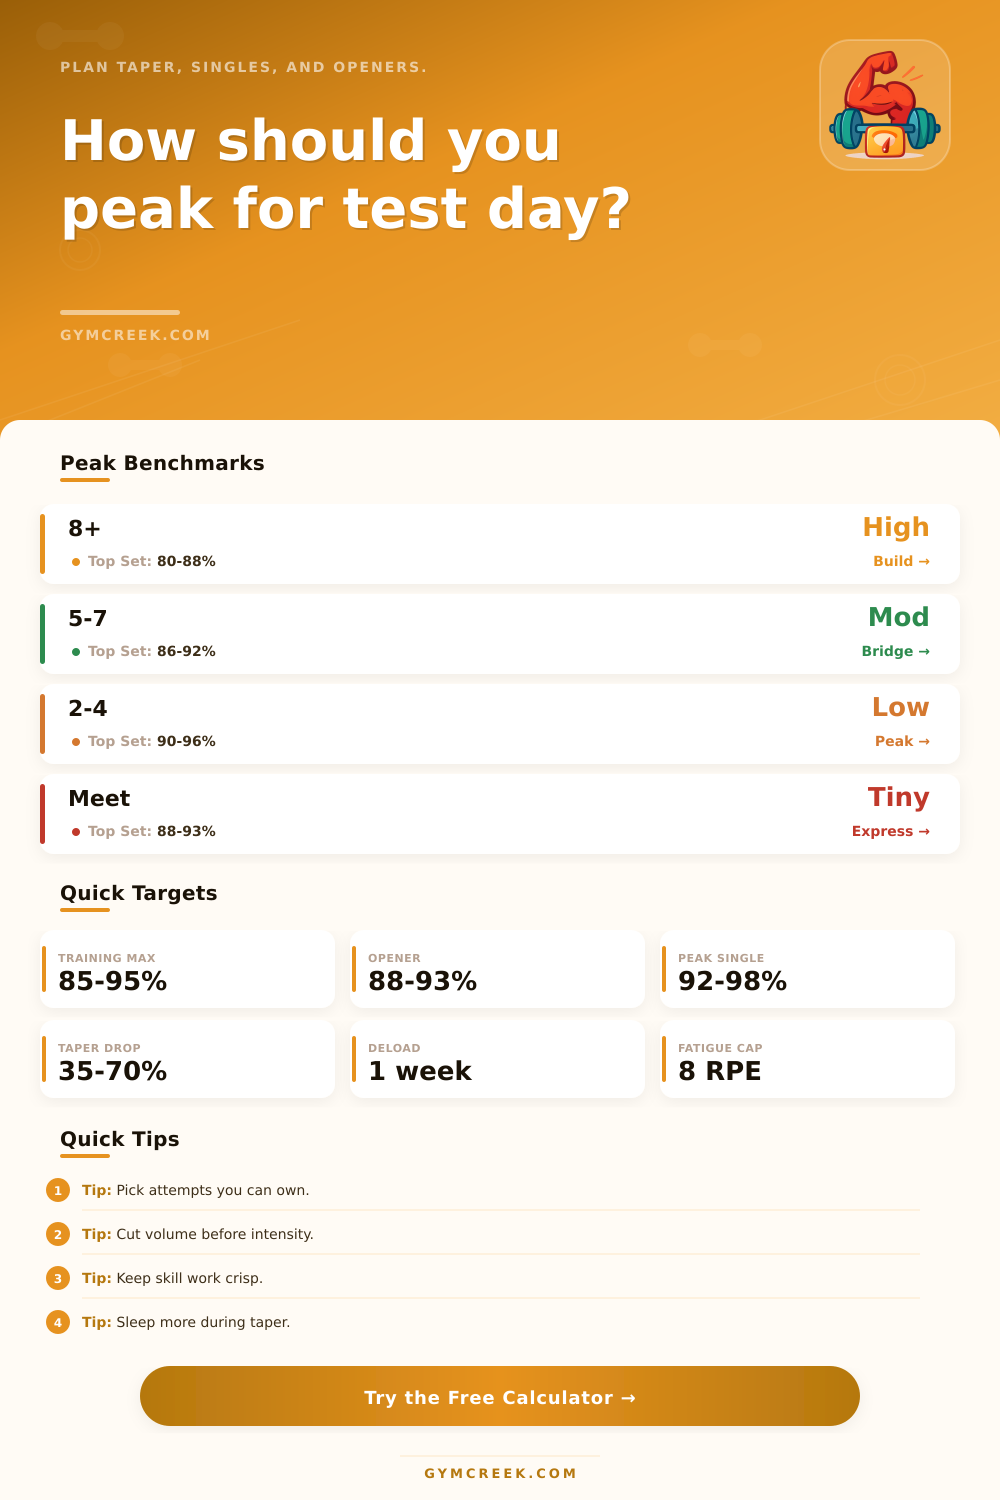
Every week intensity and volume trade off against each other, and you can’t keep both high and expect your nervous system to be ready on meet day. The chart above illustrates that intensity rise only in the last two or three exposures and volume drops first. This preserves technique. If volume remains too high, the last heavy single will feel slow, even if it is only 92 percent of weight. If volume drop too soon, lifters may get out of their groove and the opener feels heavier then it should. This calculator quantifies the drop; no guessing required.
The same holds true for attempt selection. The opener will typically be what was boring on an ordinary day. The second attempt will be something you’ve already moved as a single unit within past couple of weeks. If everything went normal during the warm-up, and both attempts moved quickly, then you’ll take the third attempt.
Here’s where many lifters go too far; they view this third attempt as a statement instead of a calculated risk. As we saw in the table above, that risk is not static; it adjusts according to your level of tiredness. When the number is seven or eight on the fatigue table, the third attempt range shrinks up and the safe single cap drop. It’s simple math, but it also ask us to be honest regarding how our last week of training realy felt.
The calculator doesn’t account for sleep and daily stress, but these two factors frequently determine whether it will pan out. A volume drop timed just right might gain back freshness lost with two more hours of crappy shut-eye. The best peaking blocks follow a silent rule: If your joints feel thick and your warm-ups seem off, you will likely max out on your second or third attempts before you even finish your first opener. Your calculator provides targets; you’re still responsible for reading the day.