Meadows Row Calculator
Estimate effective landmine load, plan one-sleeve plate loading, compare left and right sides, and tune stance, torso angle, grip, and elbow path for lat or upper-back emphasis.
📌Presets
Presets fill a complete landmine setup and immediately recalculate sleeve load, side comparison, and muscle bias.
⚙Calculator
Meadows row snapshot
Enter your landmine setup and compare both sides.
📊Metrics Grid
📑Reference Tables
| Stance | Strictness | Best Use | Watch For |
|---|---|---|---|
| Split stance | Moderate | Heavy lat rows | Hip rotation |
| Square stance | High | Even bracing | Low-back sway |
| Wide braced | High | Upper-back rows | Short range |
| Bench support | Lower | Strict shoulder path | Pushing off |
| Torso Angle | Bias | Load Feel | Common Cue |
|---|---|---|---|
| 20-30 degrees | Lat dominant | Harder stretch | Pull to hip |
| 30-40 degrees | Balanced | Most repeatable | Ribs quiet |
| 40-55 degrees | Upper back | Shorter lever | Elbow out |
| 55+ degrees | Trap/rhomboid | Easiest cheat | Pause reps |
| Grip | Typical Bias | Load Note | Use When |
|---|---|---|---|
| Far sleeve end | Lats | Long lever | You need stretch |
| Near collar | Upper back | Short lever | You need control |
| Landmine handle | Balanced | Stable grip | Grip limits rows |
| Strap on sleeve | Lats | Less grip tax | High reps |
| RPE | Reps Left | Row Use | Adjustment |
|---|---|---|---|
| 7 | 3 | Technique | Add slowly |
| 8 | 2 | Volume sets | Hold form |
| 9 | 1 | Top sets | Small jumps |
| 10 | 0 | Test only | Reduce next |
💡Tips
Most lifters treat landmine like a cheap bench press alternative. You drop a bar into a bucket, then stack on some plates until your arms is too tired to continue. Sure, it’ll burn some calories, but it won’t develop a well-rounded strong back.
The Meadows row, however, makes you face your shortcomings. You can’t hide beneath the loaded barbell that spreads the weight evenly across both sides of your body. You also can’t use momentum to mask your weakness. Usually one side will be much stronger then the other. And the landmine reveals that deficit. Until you can see how out-of-whack it might be, it’s hard to know until it is a problem.
How to Do the Meadows Row Correctly
That’s where the calculator comes into play (see above). Instead of just guessing total weight, you enter how much weight is on each side.
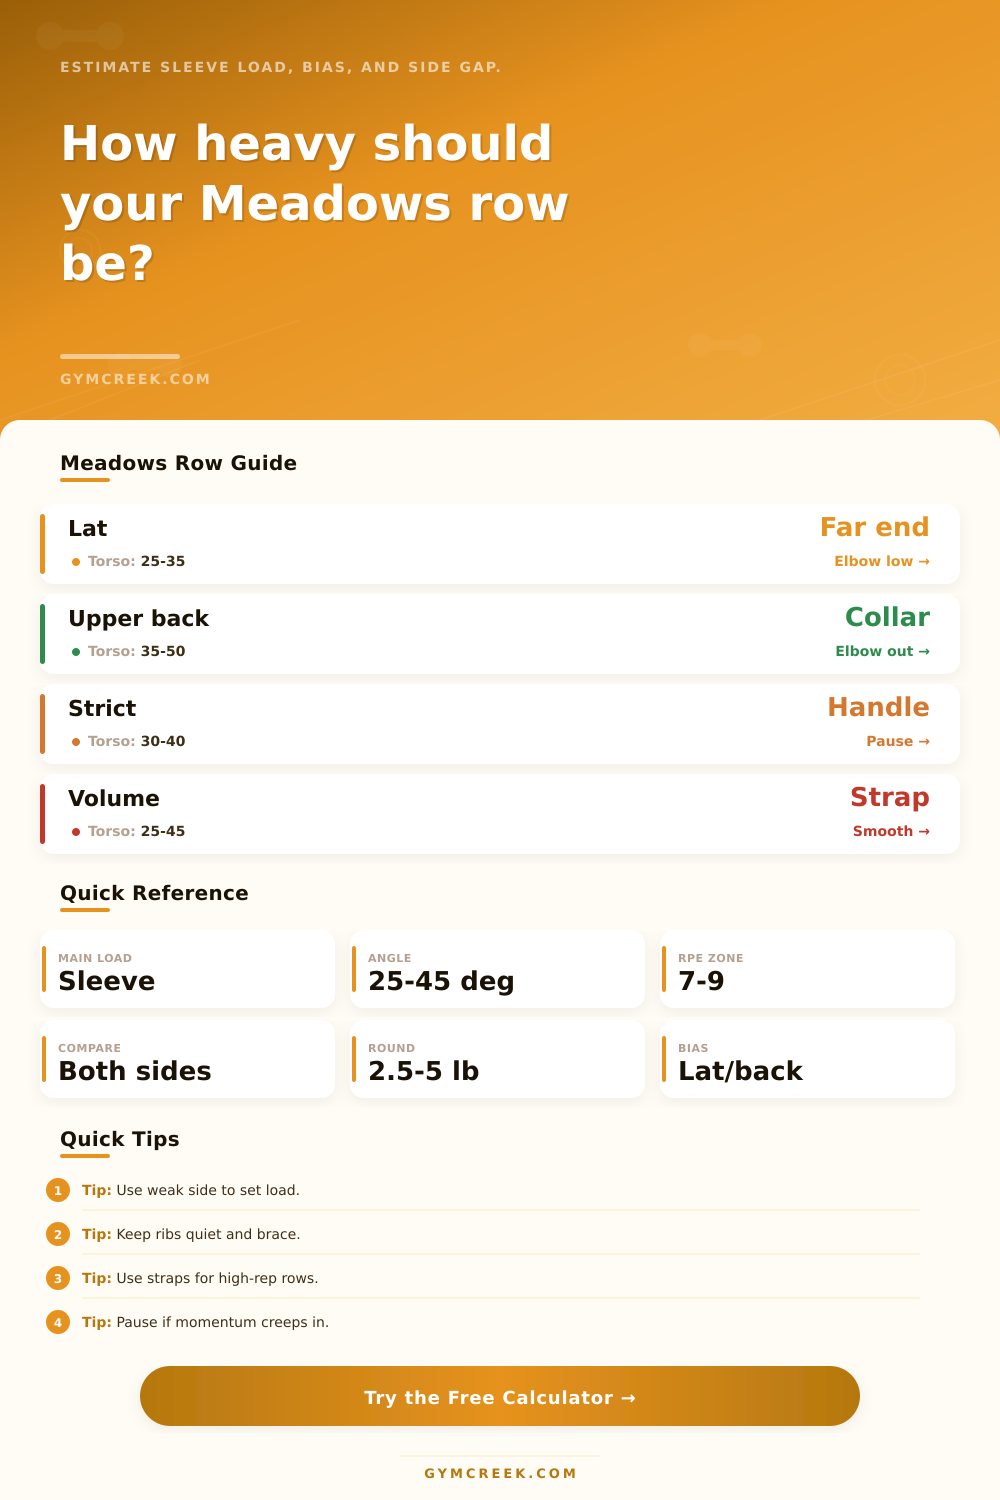
Then there’s the part where folks get confused: the effective load are estimated by using your leverage. This means that the farther away your hand is from the pivot point (the end with no weights), the more the weight will seem like it weighs than it actualy does, according to physics. Even though the sleeve has exact same number of plates as before, you’ll notice they feel heavier the further your hand is from the pivot point because most of the load are being contributed by the plates stacked onto one sleeve of the bar. The average 45-pound bar doesn’t contribute that much to the total resistance you feel in your hands. So the calculator factors all that in when it ask you what position your grip is in and how far the plates are stacked away from the base.
The other variable: what muscle do you want to target? How you set yourself up does make all the difference. To train the lat (the long muscle of your back), sit lower at the torso. Pull your elbow down towards your hip to stretch your back more. This gives you a longer lever arm, too. But for thickening up upper back muscles, you’ll sit up straighter and point that elbow outward. It is a slight change in body angle, yet it creates an entirely diffrent mechanical tension on the muscle. The table on the page spells these differences out clearly, so you can match your goals with your set-up.
It’s all in the comparison between your left and right side. Enter your rep count and rate of perceived exertion on both sides. For example, if your right side can get to 10 reps with an eight out of ten effort while your left side barely gets to eight reps with a nine out of ten, then there’s a discrepancy. The system will suggest a load where your weaker side is brought up-to-speed but doesn’t overload your stronger side. It helps you avoid loading the stronger side so much that it dominate the movement and turns it into a momentum game. Train the limiting factor, not the average.
So many lifters neglect grip selection until their hands fail long before their backs do. Straps help you press through extra reps without hand fatigue. This moves the bottleneck to the muscles targeted. Or simply grab the landmine handle to get a neutral grip that is stable and easy on your wrists.
Stance makes a difference as well. Square means greater core bracing required, whereas a split stance helps support heavier loads and a square stance keeps the lower back quiet. Find a stance you can pull hard in without putting your spine at risk.
One-sided training takes a different form of progressive overload than a barbell does. Sometimes you can’t just throw five pounds onto the sleeve. Your best friend becomes microplate. Rounding up or down by two and a half pounds may not seem like much, but after a month it starts to translate into real strength increases. The calculator rounds for you and suggests nearest available weight to what’s in your possession. It eliminates the trouble around set planning. Guesswork is gone; execution is here.
At its core, the Meadows row is a diagnostic tool. It’s also an exercise, but it ultimately reveals what your body can do and what your body won’t tell you. As you play with load, angle, and side balance, you take a straightforward pull and transform it into a specific strength workout.
Don’t just focus on the weight. You’re not simply hauling stuff around anymore; you’re creating muscle based off design. And many people miss that. They get hung up on how much weight is on the sleeve and ignore the geometry of the pull. When you begin to respect the leverage of this movement, everything else falls in line. Your shoulders will feel more stable, your back will feel fuller and your strength will be evenly dispersed throughout the rest of your body. The bucket doesn’t move, but your perception of the movement changes entirely. Suddenly, you control the variables rather than being controlled by them.