Joint Angle Calculator
Convert a training position into angle gap, usable arc, endpoint travel, load leverage, and a practical coaching cue for your lift or sport drill.
📌Training Position Presets
Use presets as starting points, then adjust the measured angles from your video still, app screenshot, goniometer, or coaching notes.
⚙Calculator
Joint angle snapshot
Enter the measured position, target angle, limb length, load, and pain-free limit to calculate the training position.
📊Position Metrics Grid
📑Reference Tables
| Joint Context | Common Target | What It Checks | Coaching Cue |
|---|---|---|---|
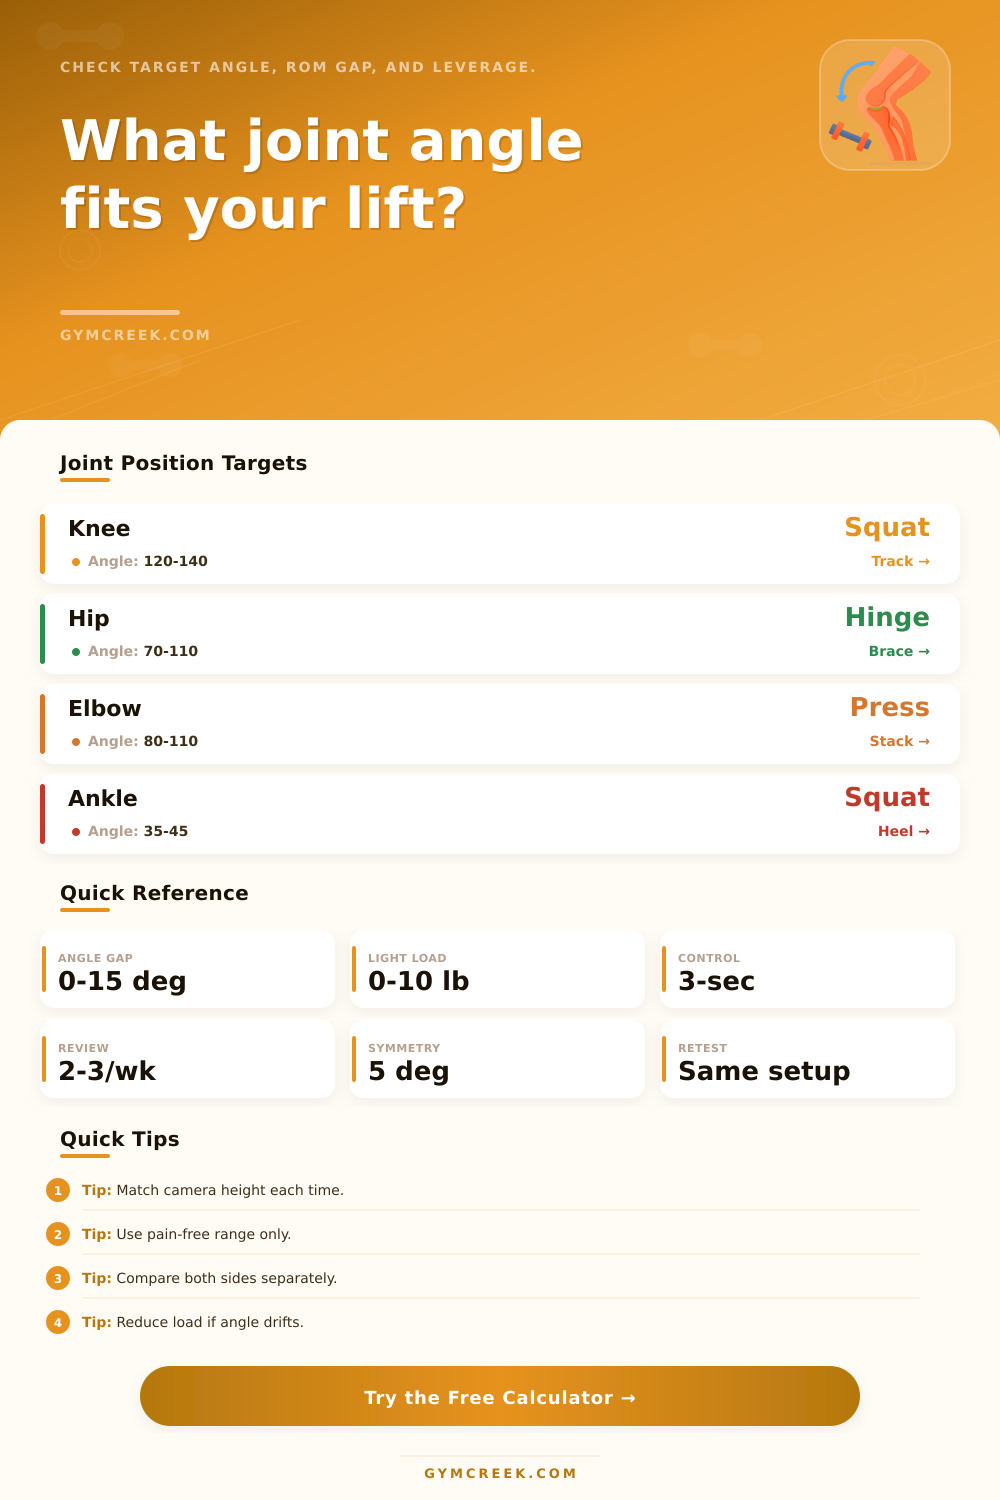
| Knee in squat | 120-140° bend | Depth and tracking | Keep pressure mid-foot |
| Hip in hinge | 70-110° flexion | Posterior chain setup | Hips back, ribs stacked |
| Shoulder overhead | 160-180° flexion | Reach without rib flare | Reach tall, brace softly |
| Elbow in press | 80-110° bend | Stack under load | Wrists over elbows |
| Ankle in squat | 35-45° dorsiflexion | Knee travel capacity | Heel stays grounded |
| Angle Gap | Training Meaning | Load Choice | Next Check |
|---|---|---|---|
| 0-5° | Target is matched | Normal planned load | Confirm repeatability |
| 6-15° | Small position miss | Light or moderate | Use tempo and pauses |
| 16-30° | Noticeable gap | Reduce load | Shorten range today |
| 31°+ | Target too far now | Unloaded first | Change setup or drill |
| Sport or Lift | Angle Priority | Limb Marker | Useful View |
|---|---|---|---|
| Squat | Knee and ankle | Hip, knee, ankle | Side plus front |
| Deadlift | Hip and trunk | Shoulder, hip, knee | Side view |
| Bench press | Elbow stack | Wrist, elbow, shoulder | Head-end or side |
| Running | Knee drive | Hip, knee, ankle | Side view |
| Golf swing | Hip rotation | Pelvis and torso line | Down-the-line |
| Result Call | Score Pattern | Training Use | Adjustment |
|---|---|---|---|
| Match | High fit, high comfort | Build repeatability | Keep setup stable |
| Practice | Close but variable | Skill and control | Add pause or slower rep |
| Constrain | Gap or comfort limit | Controlled range | Reduce depth or load |
| Regress | Large gap today | Simpler drill | Use unloaded position |
💡Tips
Squat down, and watch yourself sideways: One knee tracks more to the front than the other. It’s not always just a question of strength. Often it’s a question of how that joint starts and stops. That movement has to line up with the angle the lift create and feel good under load. Measuring angles between joints converts that visual experience into something you can quantify across days, side and sessions.
Those comparisons require several pieces to make the calculations. Your start and end angles provide travel you saw. Your target angle establishes the mark against which you’re comparing yourself. The pain-free limit caps travel at something the body can handle, keeping math honest. Limb length plus external load converts the angle into an estimate of the amount of torque experienced by segment and distance it moves toward its endpoint. Finally, view and side matter because a hip hinge in the side plane isn’t the same measurement than a knee check in the front plane, despite similar-looking numbers.
Why You Should Measure Your Angles
So those are your outputs. They say, yes, that’s good enough to hold onto the position. Or they say no, it was off by this much and needs a pause in the tempo or an adjustment of some kind. Or maybe it missed so far that you’ll want to drop the load altogether or at least narrow range for the time being. Twenty degrees is not only larger than five degrees on paper; it typically means something different when coaching the next set, too. And it helps you know if you can trust it with a little more weight yet.
A common error is using an angle as a set-in-stone thing instead of something to change based off context. The same knee bent to one-hundred-thirty degrees might be just right during a back squat but totally inappropriate for a sprint drill or split squat. By allowing you to adjust your goal and your lift context without having to start over with measured angles, the calculator helps you visualize what happens to the same joint under differing demands. It also splits out the pain free limit from actual travel, so you don’t accidentally chase after degrees that your joint won’t safely deliver.
The camera angle also affects it more than many think. Where you put that marker and how high tripod holds phone, will have an effect on the apparent degree of the angle (you’d be surprised at a few degrees difference when they do nothing differently). This is another reason you see the same setup all the time. It’s more important than any cool number.
And the true benefit seems to emerge from multiple check-ins, not a single dramatic session. If your usable travel stay the same as the gap closes, then your end point shifts by the same amount with the same load. This is how you know that a position has started to become repeatable. But if the numbers start to float around, then you’ve got an early warning sign that you need to change things before movement pattern becomes harder to alter.
While the calculator isn’t meant to replace either a clinician or coach, it provides you with a reliable method for detecting that position is starting to drift. This helps you decide whether or not to do anything about it during next training block.
You should of used this sooner. Actualy, it could of helped even more.