Handlebar Drop Calculator
Estimate a practical saddle-to-handlebar drop from saddle height, riding goal, reach, flexibility, core control, spacer stack, and stem angle.
📌Presets
Presets load realistic cycling positions and recalculate the target drop, fit score, and adjustment range.
⚙Calculator
Handlebar drop snapshot
Enter your bike fit measurements to estimate a sustainable front-end height.
📊Fitness Metrics Comparison
📑Reference Tables
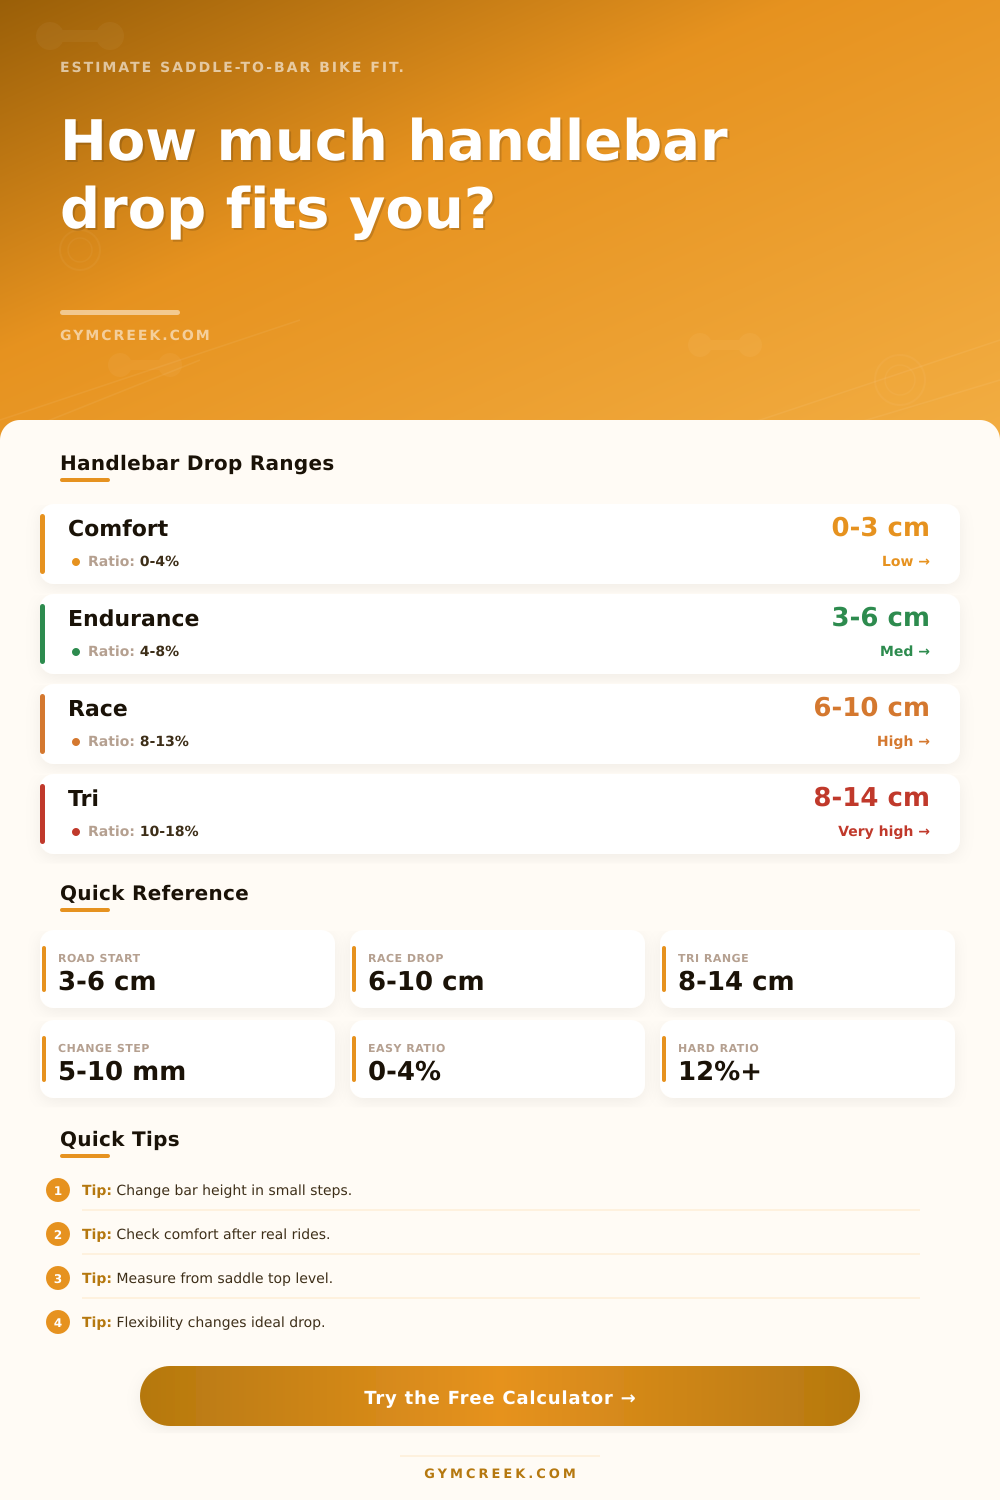
| Riding Fit | Typical Drop | Drop Ratio | Common Use |
|---|---|---|---|
| Upright comfort | -2 to 3 cm | -3% to 4% | Touring, new riders, recovery rides |
| Endurance road | 3 to 6 cm | 4% to 8% | Long rides with balanced comfort and speed |
| Gravel or cyclocross | 2 to 6 cm | 3% to 8% | Mixed surfaces and fast control changes |
| Road race | 6 to 10 cm | 8% to 13% | Lower torso angle and higher speed work |
| Triathlon or TT | 8 to 14 cm | 10% to 18% | Aero pads, closed hip angle, race focus |
| Flexibility Input | Modifier | Fit Meaning | Check Point |
|---|---|---|---|
| Stiff | -2.5 cm | Bars should stay higher | Pelvis rocks backward in drops |
| Limited | -1.2 cm | Moderate drop works better | Reach feels long under fatigue |
| Average | 0 cm | Use style-based starting range | Neutral back can be held |
| Good | +1.2 cm | More drop may be sustainable | Hips stay quiet when low |
| Excellent | +2.4 cm | Race-like drop may be realistic | Low posture does not close breathing |
| Adjustment | Approx Height Change | When To Use | Ride Test |
|---|---|---|---|
| Move one 5 mm spacer | 0.5 cm | Fine tuning after a good baseline | One to three rides |
| Move two 5 mm spacers | 1.0 cm | Noticeable but usually manageable | Check hands and neck |
| Flip +/-6 degree stem | 1.5 to 2.5 cm | Bigger posture correction | Recheck reach feel |
| Swap stem angle | 2 to 4 cm | When spacer range is used up | Test climbing and braking |
| Bar or hood rotation | 0.5 to 1.5 cm | Small contact-point change | Confirm wrist comfort |
| Formula Piece | Variables | Output | Why It Matters |
|---|---|---|---|
| Base drop | Saddle height x style percent | Starting drop | Taller saddle heights can carry more absolute drop |
| Mobility adjustment | Flexibility, age, experience | Personal drop modifier | Protects comfort and breathing posture |
| Reach penalty | Reach divided by saddle height | Load correction | Long reach makes the same drop feel lower |
| Drop ratio | Drop divided by saddle height | Percent score | Compares riders of different sizes fairly |
| Adjustment range | Target minus current drop | Raise or lower bars | Turns the result into bike setup action |
💡Fit Tips
On a long ride it’s easy to chalk up shoulder burn to the handlebars. The drop is simply too low; your hands is holding your body in place. But more likely, it has nothing to do with the depth of your drop. Instead, it depend on how your front end geometry relates to your body’s flexibility. And it’s not as simple as measuring your bar height alone. It’s also about being able to maintain that posture with your core rather than dumping your weight into your wrists.
Most people start by measuring vertical distance from the top of their saddle to where they touch their handlebars. Great, but that’s just a number. What does a 6 cm drop feel like if you have a short torso? What about if you have a long one? The calculator above run those numbers for you. Because it first considers what kind of rider you are, it takes raw measurement and makes a custom suggestion.
How to Find Your Best Handlebar Height
Are you racing? Then you need more drop for aerodynamics. Are you touring? Then you’ll care about comfort and visibility. This base percent change according to how you’re set up and who you are. The secret variable is flexibility. “You might think you’re perfectly set up on paper, but how do your hips move? Are your hamstrings tight? If not, you won’t be able to maintain a low position.
The calculator also ask how flexible you are. This helps you avoid setting yourself up for failure by trying to mimic a race-day drop that will cause you to cramp up after ten kilos. It takes into account your core strength as well. After all, when you lower your body, your upper body’s weight has to go somewhere… Namely onto a strong core, which transfers pressure away from your neck and hands. Otherwise, you’ll get tired and numb with even a moderate drop. This is why the tool also takes into account your age and experience level, because we know mobility changes over time.
Drop counts for something but so does reach. When you’re spread out too far, each additional millimeter of drop becomes an extra weight on your shoulders. To determine whether your load is balanced the calculator compare your saddle height to the distance from your saddle nose to your hood. A combination of deep drop and long reach produce a lever effect. That’s taxing on the arms and back.
The page has a table that shows which riding style correlates to what kind of drop range. It gives you a sense of where you stand now in terms of either comfort, race or endurance standards. Make adjustments slowly. Take off spacers one by one. Don’t rip them all out at once. Adjust seat height in five or ten millimeters at a time and then go for a ride.
It takes your nervous system some time to adjust to a new riding angle. Something that feels awkward the first day may become naturaly after two weeks. Something that feels good on a brief spin might still hurt your back on a long ride. Pay attention to your hands. When they get numb, that’s your clue you’re leaning too far forward. In that case, move the bars up a bit.
But low isn’t always best. Best means sustainable. The ideal riding position lets you generate power while breathing deep and not hurting yourself. So there’s a sweet spot and the calculator attempts to determine what that might be for you. It does so based off your body, but also your level of aggressiveness for geometry. This is why I like it.
It tells you how much you should of change your handlebar height from your current setting. It provides a target number for your drop and shows how far you can move from that setting (+/-). Think of this as more of a jumping off point rather than a final pronouncement. Theory only goes so far; real world data rules. Take it out for a spin after you plug the numbers in. If the fit feels correct, then you know the road will confirm that for you. Ride long, fast and hurt free; that’s the only score that matters.