
When people purchase the Peloton Bike they expect a perfect marriage between tech and fitness; what they get is a machine that requires significant amount of space and a recurring fee. The machine needs to be trusted and there’s something delicate about it: if the screen freezes up or the resistance isn’t working propery, there’s a sense that you shouldn’t tries to fix it yourself. The minute the bike malfunction, most users freak out.
They dial support, schedule a repair, and conclude this thing is too complicated to mess with. Generally, nope. First, this is a piece of hardware, and only secondarily a computer.
It have moving parts; there are sensors and physical adjustments which can be made in response to basic maintenance tasks. No, you don’t need an engineering degree to maintain the thing; but yes, you should of be aware of what’s truly in your pay grade as far as repair goes. Most people don’t realize how clear the difference is between an adjustment you can make yourself and one that requires a support ticket.
Staying on the correct side of that boundary are empowering, while crossing over it unnecessarily wastes your time. What worries people most is the screen. A black screen or a frozen interface looks like total disaster, but in reality isn’t.
What You Can Fix On Your Peloton Bike
Understanding Peloton Bike Maintenance
Most display problems stems from bugs in the software, which means a hard reset is usually what you need to fix them. Your first line of defense. And best weapon, is to perform a hard reset.
Fixing Screen and Software Issues
Just press the power button down for 15 seconds, which forces a full reboot instead of putting the system into sleep mode. This erases any temporary glitches. Next, verify that the power cable is plugged all the way in the wall.
More bikes loses power due to a loose cable than hardware failure. It is a small thing, but it makes a big difference. Resistance causes mechanical issues that you can fix.
Adjusting Magnetic Resistance
When pedaling seems more difficult then what the resistance level indicates on the screen, you have an issue with the magnetic braking system. Hair and dust builds up around the magnet during months of riding and gets between it and the flywheel. That disrupt the magnetic field.
You must vacuum and wipe down with a soft brush the space between the magnet and the wheel. Don’t get any water near the magnet; it’s delicate. Gently wipe it off.
Recalibrate the resistance from the settings menu. It’ll run through a little test cycle. Often this restores precision without a technician visit, and it’s easy DIY stuff.
Troubleshooting Pedal Slippage
A common problem people have with pedals is “slippage,” but it’s realy due to human error (not mechanical failure). These pedal employ a regular SPD type clip system, and need properly adjusted tension and cleanliness. If you’ve had your foot slip off while sprinting, chances are the cleats aren’t clean.
Road dirt and mud clog the engagement. Use the Allen key and take the cleats off and clean the metal well. Reinstall.
Also inspect the tension screws on each side of the pedal body. Those adjusts how hard the cleat engages. A small tweak can go a long way.
When tuned and clean, your foot will remain engaged. Now for the other problem, the touch bar on the Bike Plus. The controls are not as responsive because oils and fingerprints block the light from the optical sensors underneath.
Cleaning the Touch Bar
There is no setting that will solve this. Only a cleaning. Use a screen-safe cleaner and a microfiber cloth.
Harsh chemicals will eats through the coating. Gently wipe the touch bar. Eighty percent of the time, that fixes the touch bar complaint.
If the issue persists, you might need support because sensor misalignment are rare. But do clean first, then call. What’s in the tool kit?
Essential Maintenance Tools
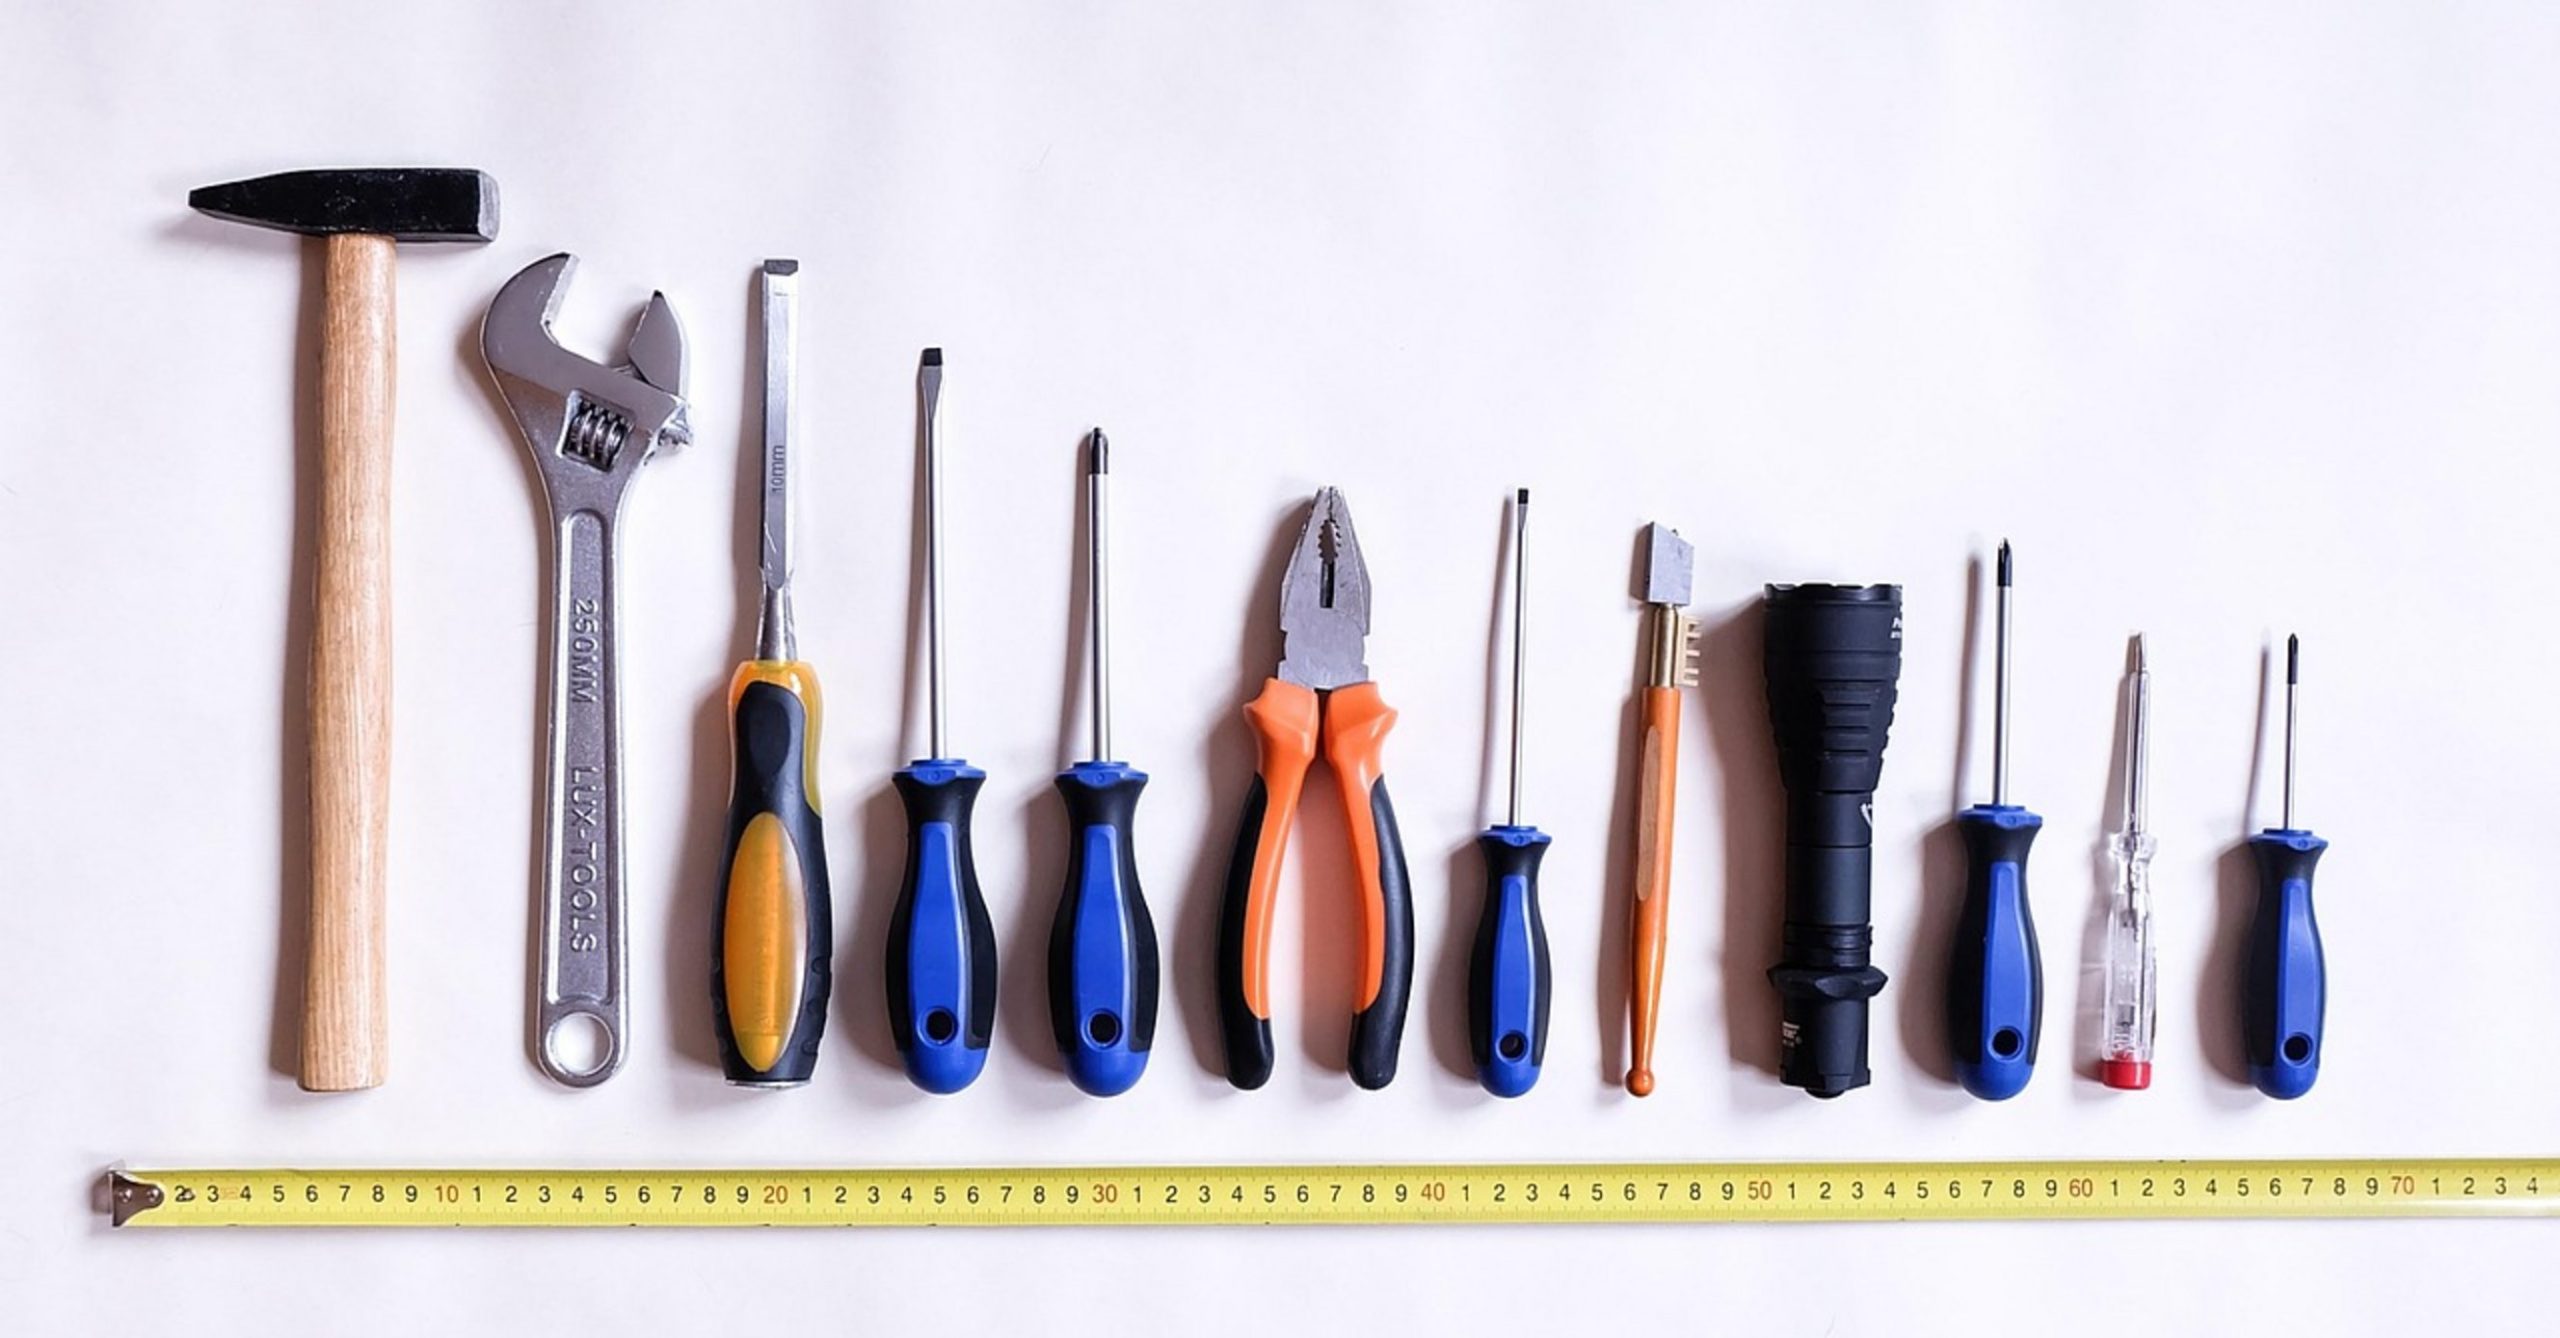
Your toolkit consists of cleaning tools, a soft brush, and Allen keys. Just don’t disassemble certain component like the flywheel hub or main console housing. Don’t try to take apart the main console housing or even the fly wheel hub, those have warranty voiding seals as well as calibrated sensors in them.
And if the bike starts making a grinding sound coming from the frame, stop riding it. That’s a bearing problem, and that’s something you should call for help with. So how does knowing what to do and not do save your warranty (and sanity)?
A little bit of care keeps the machine running smoothy. You can ride worry-free because you know it won’t break down. That’s the sweet spot with this bike, and that’s the true value of ownership.
