EMOM Time Calculator
Plan every-minute-on-the-minute workouts from intervals, stations, rounds, reps, pace, transition time, warm-up, cooldown, rest quality, and training goal.
◎Presets
Each preset loads a complete profile, timing structure, and workload estimate, then recalculates instantly.
⚙Calculator
EMOM timing snapshot
Enter the clock format and workload to calculate the full session.
▦Fitness Metrics
▣Reference Tables
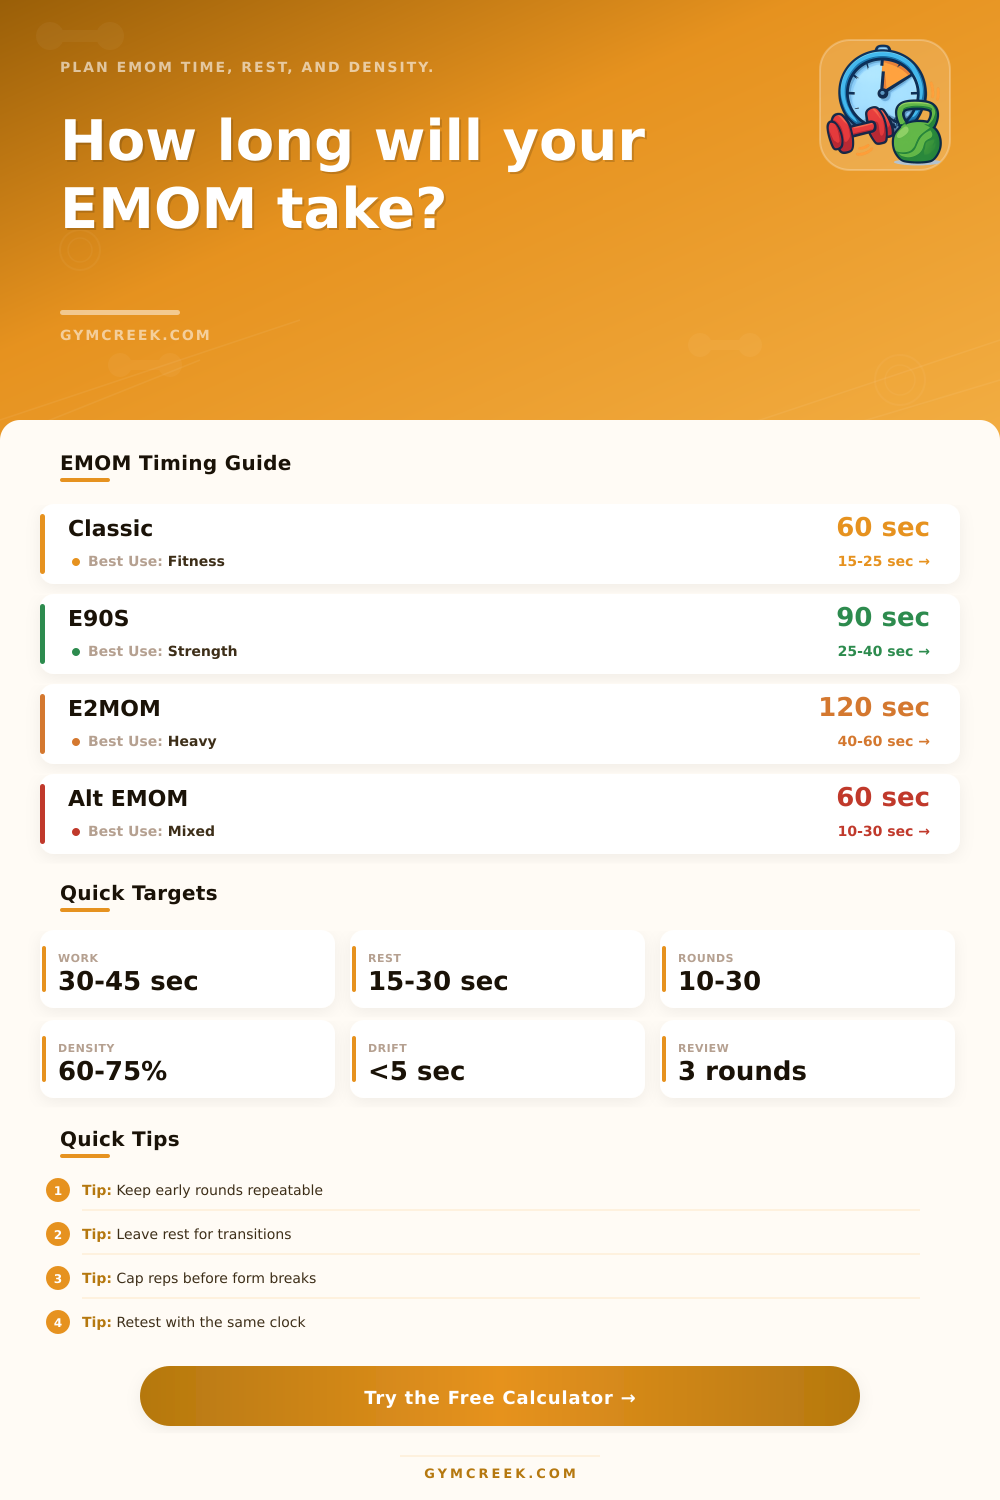
| Format | Interval length | Common use | Typical rest target |
|---|---|---|---|
| Classic EMOM | Every 60 seconds | Conditioning, skill, simple mixed modal work | 10-30 seconds after work and setup |
| E75S | Every 75 seconds | Moderate strength density or larger rep sets | 20-35 seconds |
| E90S | Every 90 seconds | Olympic technique, heavy pulls, higher-skill sets | 25-45 seconds |
| E2MOM | Every 2 minutes | Strength, carries, heavy complexes, machine sprints | 40-75 seconds |
| Goal | Work share | Rest cue | Adjustment cue |
|---|---|---|---|
| Skill practice | 25-50% | Form stays sharp | Lower reps if precision fades |
| Strength practice | 30-60% | Breathing settles before next start | Extend interval before reducing load |
| Conditioning | 55-80% | Rest is short but repeatable | Cut reps if late rounds miss the minute |
| Recovery pacing | 20-45% | Easy nasal or conversational pace | Reduce intensity before adding volume |
| Scenario | Structure | Useful output | Watch item |
|---|---|---|---|
| Single movement | 1 station x many cycles | Simple total reps and rest consistency | Local fatigue in one movement pattern |
| Alternating couplet | 2 stations repeated | Work balance across two demands | One station stealing rest from the other |
| Three-station engine | Cardio, weight, bodyweight | Round time and mixed density | Transitions and shared equipment |
| Strength EMOM | Low reps every 90-180 sec | Load volume and usable rest | Speed loss or technical misses |
| Formula | Inputs | Output | Why it matters |
|---|---|---|---|
| Total intervals | Stations x cycles | Number of starts | Sets the EMOM clock length |
| Work estimate | Reps x seconds per rep plus drift | Active time | Shows whether the minute is realistic |
| Density | Active time divided by clock time | Work share | Guides conditioning versus practice intent |
| Mifflin-St Jeor | Age, sex, height, weight | BMR context | Supports calorie and recovery context |
◇Tips
So there you are, your rep scheme creeps into the following minute as your workout timer ticks down. But then you break down with poor form, start gasping for air, and now not only does the clock shows zero seconds remaining on the interval, but fifteen seconds have already gone from the next one. It’s chaos, and the beauty of these minute by minute workouts is, well, they’re supposed to be chaotic (usually). That doesn’t mean we can’t structure the chaos to work for us.
This is where planning comes into play. Plan your workout beforehand so that once you step foot on floor, it becomes a machine capable of making you better. By plugging in your rep target and interval length, calculator above does the work for you, eliminating any guesswork about sustainability of your workload. It turns “I’m going to go hard” from an abstract intention into a specific timeline.
How to Plan Your EMOM Workout
Most athletes sees EMOMs as pure conditioning events. In reality, however, they’re precision instruments used to manage density. Understanding this, that rest is not free time but rather a resource to be carefully budgeted, are the key to employing them effectively. Burn through your rest in first three rounds? You’re not training density anymore; you’re simply surviving fatigue. And that’s far different then what most people think.
Then think about how long the intervals are. A traditional form with sixty seconds doesn’t allow much margin for error and demand high-intensity work. Let’s say it takes you ten seconds to set up and forty seconds to do the work. Now you’ve got just ten seconds to catch your breath. Extend that to two minutes or even ninety seconds, and entire physiological requirement of the workout shifts. Because you now have space in the clock between reps, you might be able to increase weight or go deeper into technique without losing position. The chart on the page shows it clearly: the format matches the goal.
For a conditioning seeker, that persistence serves well. For a strength practitioner, you need that time to rest your nervous system.
The other unknown variable is transition time. This sounds like a small thing, but you’ll add it up fast when you set up your kettlebell or get strapped into those pull-up bars on round twenty. If you don’t account for this, you’re off course immediately. You complete your task, then you remember that you need chalk. Now you fiddle with your strap. Before you know it, the next minute is already ticking away as you continue to prepare yourself. By allowing you to enter a transition buffer, the tool makes you recognize that there’s some logistics involved in the workout itself. Even just adding five seconds per interval helps eliminate those “run-out-of-time-to-start-movers” at the end of the later rounds.
The other component is fatigue drift. Round one won’t go at the same speed as round ten, or round eleven, or… Well, you get it. Every subsequent rep require more time than the last. Enter the drift factor. Humans aren’t robots. Our performance decreases with increasing load. You can adjust that into the calculator. It’ll help you determine how far along you are before the workout becomes impossible. When the estimated remaining rest goes below an acceptable level during late rounds, you know your initial rep target was too ambitious. Downward adjustments should of save you from the frustration-and-bad-form spiral.
To conclude. An EMOM is a self-promise to do work at a certain rate. The more often you break this promise, the more you’ll train your body to quit before time expires. The more often you follow through on it, the more you’ll build both capacity and confidence. When you map out those minutes ahead of time, the clock becomes a source of structure instead of something that causes you to stress. You walk into the room knowing what you’re going to do; you do it with intent; then you walk out knowing exactly what you achieved. That’s more valuable than any additional rep you could possibly get from some random attempt at winging it.