Cycling Descent Speed Calculator
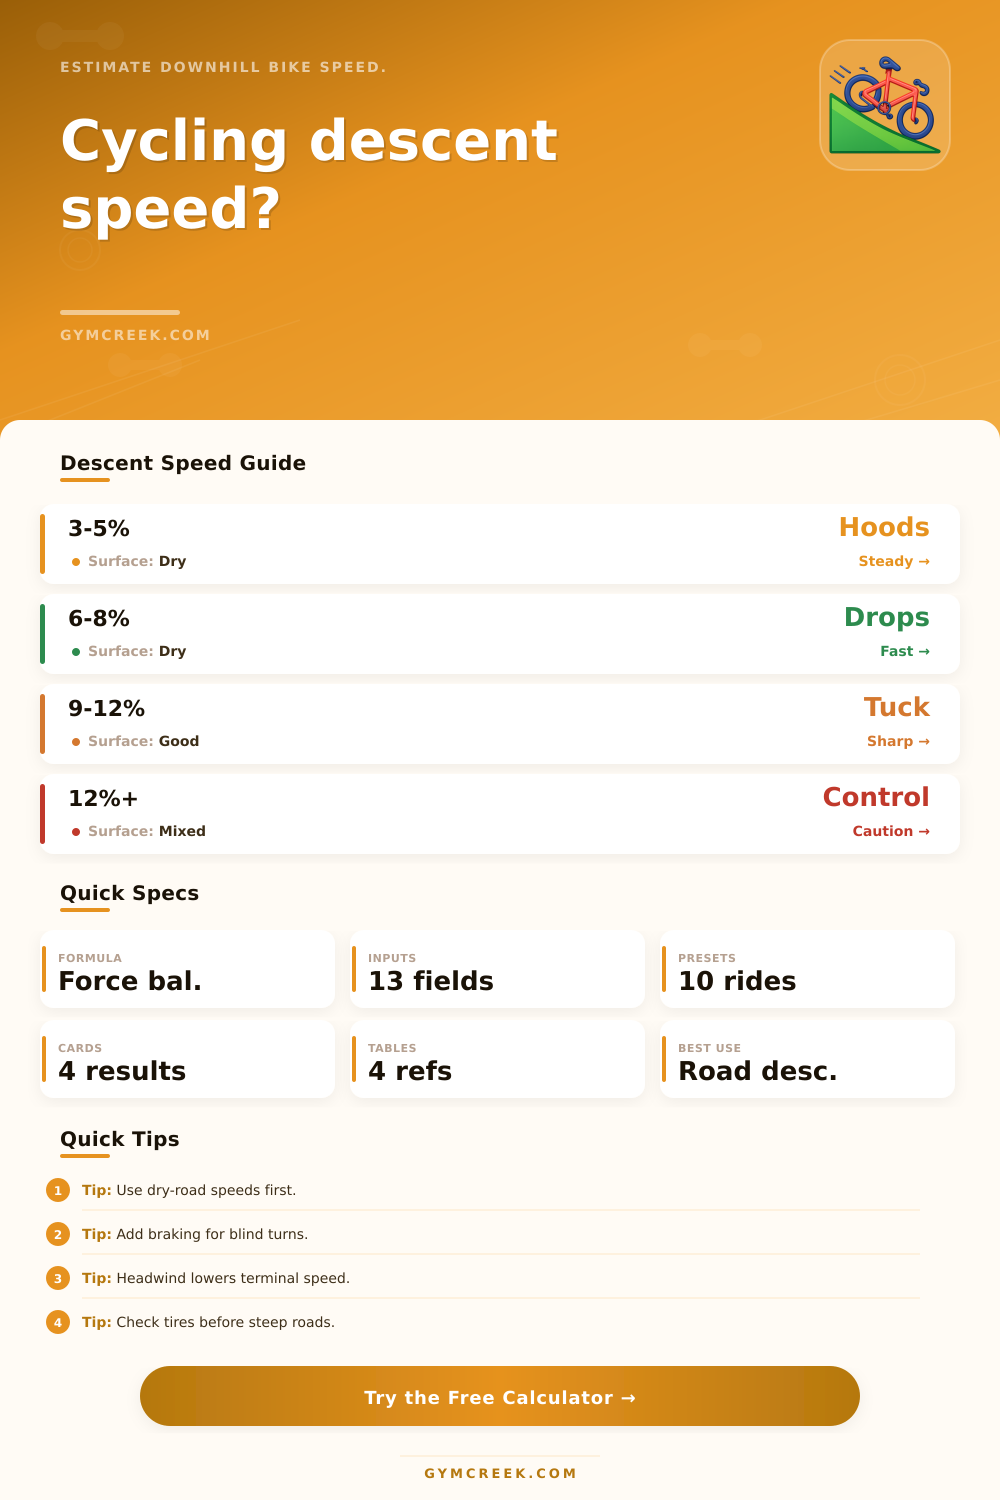
Estimate downhill cycling speed from grade, rider mass, aerodynamics, rolling resistance, wind, braking, surface, and technical descent risk.
📌Descent Presets
Presets load realistic cycling descent scenarios. Replace them with route grade, bike setup, weather, and your own comfort limits before making decisions.
⚙Descent Inputs
Downhill speed estimate
Enter route, rider, bike, wind, braking, and surface details to estimate practical descent speed.
📊Descent Metrics
📑Reference Tables
| Component | Formula idea | Main inputs | Use |
|---|---|---|---|
| Gravity drive | m x g x sin angle | Mass, grade | Downhill force |
| Aero drag | 0.5 x rho x CdA x v2 | Position, wind | High-speed limit |
| Rolling drag | Crr x m x g x cos angle | Tires, surface | Road friction |
| Pedaling | Power / speed | Watts | Extra drive |
| Position | CdA used | Typical effect | Best context |
|---|---|---|---|
| Upright hoods | 0.50 | More drag | Traffic or caution |
| Low hoods | 0.42 | Moderate drag | Open roads |
| Drops | 0.35 | Fast control | Road descents |
| Aero tuck | 0.26 | Very fast | Clear sight lines |
| MTB stance | 0.58 | Stable, slower | Dirt or rough roads |
| Surface | Crr add | Risk add | Practical cue |
|---|---|---|---|
| Smooth dry | Low | Low | Speed from sight line |
| Average road | Small | Moderate | Watch cracks and shade |
| Rough chip seal | Medium | Higher | Stay loose on bars |
| Wet pavement | Small | High | Brake early and smooth |
| Gravel | High | High | Use wide margins |
| Step | Value | Adjustment | Meaning |
|---|---|---|---|
| Waiting | --- | --- | Calculate to populate the descent model. |
💡Descent Tips
Until that is no longer true. It’s easy to coast downhill. Then all of a sudden the road falls out from under you and you’re going too fast.
What’s important aren’t the digits on your head unit, but which line, how much braking, and where you position yourself. For most riders that lesson come when they first ride a descent. It is possible to go faster than you are comfortabley. And that being just outside your comfort zone is good. Good planning happens in the space between going too fast and feeling like you need to go fast.
A Tool for Planning Your Speed
And that’s where the calculator helps, by letting you explore that gap, without guessing. You input a few things, like bike and rider weight. The average grade (and length) of the descent. And it folds in other factors too: Position. Surface. Tires. Wind. Altitude. And expected cornering and braking.
Each of those factors alter how the forces balance. More weight means more gravity pulls, and more friction to fight. A tuck position shrinks the area the wind pushes on, raising your terminal speed but lowering your reaction time. Rolling resistance from wet pavement or loose gravel add drag. It reduces your available traction, increasing your risk while causing a practical speed drop.
This tool doesn’t create the target. It provides the terminal speed based off physics. That’s the practical speed, which accounts for your brakes, your own limitations, and your braking style. It presents a risk score calculated from four factors: Grade + Speed + Technical Difficulty + Surface. This is your practical speed, which include the constraints of your physical limits and braking.
The distance between those two numbers tell you where the balance point lies: Was it control, or was it aerodynamics? If the gap is large, then comfort, visibility, or corners was doing most of the work. If the gap is narrow, then you’re riding near the edge of what the tires and bike will tolerate.
The model doesn’t account for real descents with added variables. You might experience brake fade on a long steep pitch. There is also traffic and blind driveways. Unexpected shade can conceal moisture, which require you to go faster then planned. Think of the risk score more like a prompt, less like a verdict. If the number is in the high range, use it to lower your personal cap or increase your braking percent before you roll.
The input tables are complemented by reference tables next to them, explaining the tradeoffs in context. The position choices displays how your choice of posture impacts aerodynamic drag. The surface options explain why wet pavement or rough roads push you toward an earlier decision. It’s not a list of rules to memorize, but rather, a reminder that how we ride and what we ride on affect how any given grade will feel.
Once you start thinking about it more like a planning tool rather than a speedometer, then the calculator starts being good. You plug in information on a route you’ve never been on, or on a section where you didn’t measure very well and see what kind of pace you tend to run in those conditions. Do your normal habits mesh with the conditions? Will you enter the upcoming corner at a speed that gives you options on which way to go? The output will give you the answer, but it won’t tell you exactly how fast to go around the next turn.
Most riders fail to account for this. Once things start moving, the descent doesn’t care about weight of your bike or strength of your legs. It only cares what level of margin you chose prior to the drop in the road… How far do you want to let gravity pull you along? How fast do you want to go? The calculator shows you this choice before gravity’s got a chance to make it for you.
You should of used it earlier.