
That’s when you do it: you whip out your credit card and picture yourself in some clean-lined haven with perfectly straightened racks and mirror walls. But reality set in quickly. The spare closet stinks of mildewy towel.
The garage is realy a storage locker. You purchase a treadmill which turn into a costly clothes hanger. The dream fizzles before weights have been unpacked.
Creating your own gym at home isn’t about buying equipment. It is about figuring out what works for you in terms of space, which are your first consideration, and how much money you are willing to spend, which is your second. It shouldn’t be clutter that guilt-trips you every time you pass by it.
This isn’t supposed to look like Gold’s Gym. It should be somewhere you feel comfortablely moving around in, without tripping over a yoga mat you haven’t touched since 2019. Before anything else, grab a tape measure and take measurements of your flooring area.
Step by Step Guide to Building Your Home Gym
Assessing Space and Movement
Don’t guess; use the tool. Next, walk through your workout in bare space. Swing your arms, lunge backwards, mimic the movement.
Where do your knee strike the wall? That’s all it takes to know if ceiling height is sufficient for a pull-up bar, if there’s enough space between the squat rack and a nearby wall to walk around it, etc. This will also tell you if a piece of equipment dominate the room. A lot of folks miss this step and end up purchasing equipment they can’t train on.
You can’t train what you can’t reach. This method work for a reason. Any decision about what to buy should of be a function purchase.
Choosing Dumbbells Over Cardio
In small homes, cardio equipment is tempting yet treacherous. A rower consumes valuable square footage, and you’ll only do rowing if you’re into it, which mean it has limited use for most people. Dumbbells are much better than cardio machine.
They is small in size and effective at building strength. They can supports almost any exercise pattern your body will require. If you have a rack of fixed dumbbells, a set of adjustable ones (such as the Bowflex SelectTech) will save tremendous floor space.
The trade-off is you sacrifice some durability for both flexibility and volume, but this trade-off serve 90% of home users well. Invest in a good power rack if you want to lift heavy. Look at something from Rogue or Rep Fitness.
Selecting the Right Power Rack
These are the brands that makes racks that don’t wiggle when loaded down. They’re the anchors of a serious set up. Squat stands is cheaper and less versatile because they can’t hold landmine attachments or pull-up bar.
Full Rack: More expensive upfront but more versatile with regard to range of movements. If you only intend on doing bodyweight squats, then don’t get a commercial grade rack, that’s wasted space and wasted money. This isn’t a toy, this is a tool; choose based off what you think your ambition level will be.
Installing Proper Flooring Protection
The floor: this one is bigger than most would think. Loud = bad for your neighbors, hard = bad for your joints. Don’t get fancy with expensive rubber tiles; use interlocking foam mats for light lifting and actualy rubber for heavier weights.
Rubber tiles can be expensive. Interlocking mats made of foam will serve you well if you’re doing light lifting or practicing yoga. If you’re going to lift heavy, then get some real rubber.
Get half inch thick horse stall mats. They is cheap and durable, and they look plain but do their job perfectly. It prevents big headaches for a small investment.
Barbell on hardwood = disaster. Barbell on rubber = noise. The finishing touches is lighting and mirrors.
Lighting and Mirror Placement
Having good lighting enhances safety, and makes the space feel much bigger. Can’t see where you are going? Can’t see what your form look like?
Check for technique issues with a single mirror (on the longest wall). Don’t need a wall of mirrors! One will suffice.
It gives you feedback without the vanity. It also creates a sense of depth, the room feels bigger than it is. And, when motivation’s low, that mental boost are worth its weight in gold.
Maximizing Equipment Accessibility
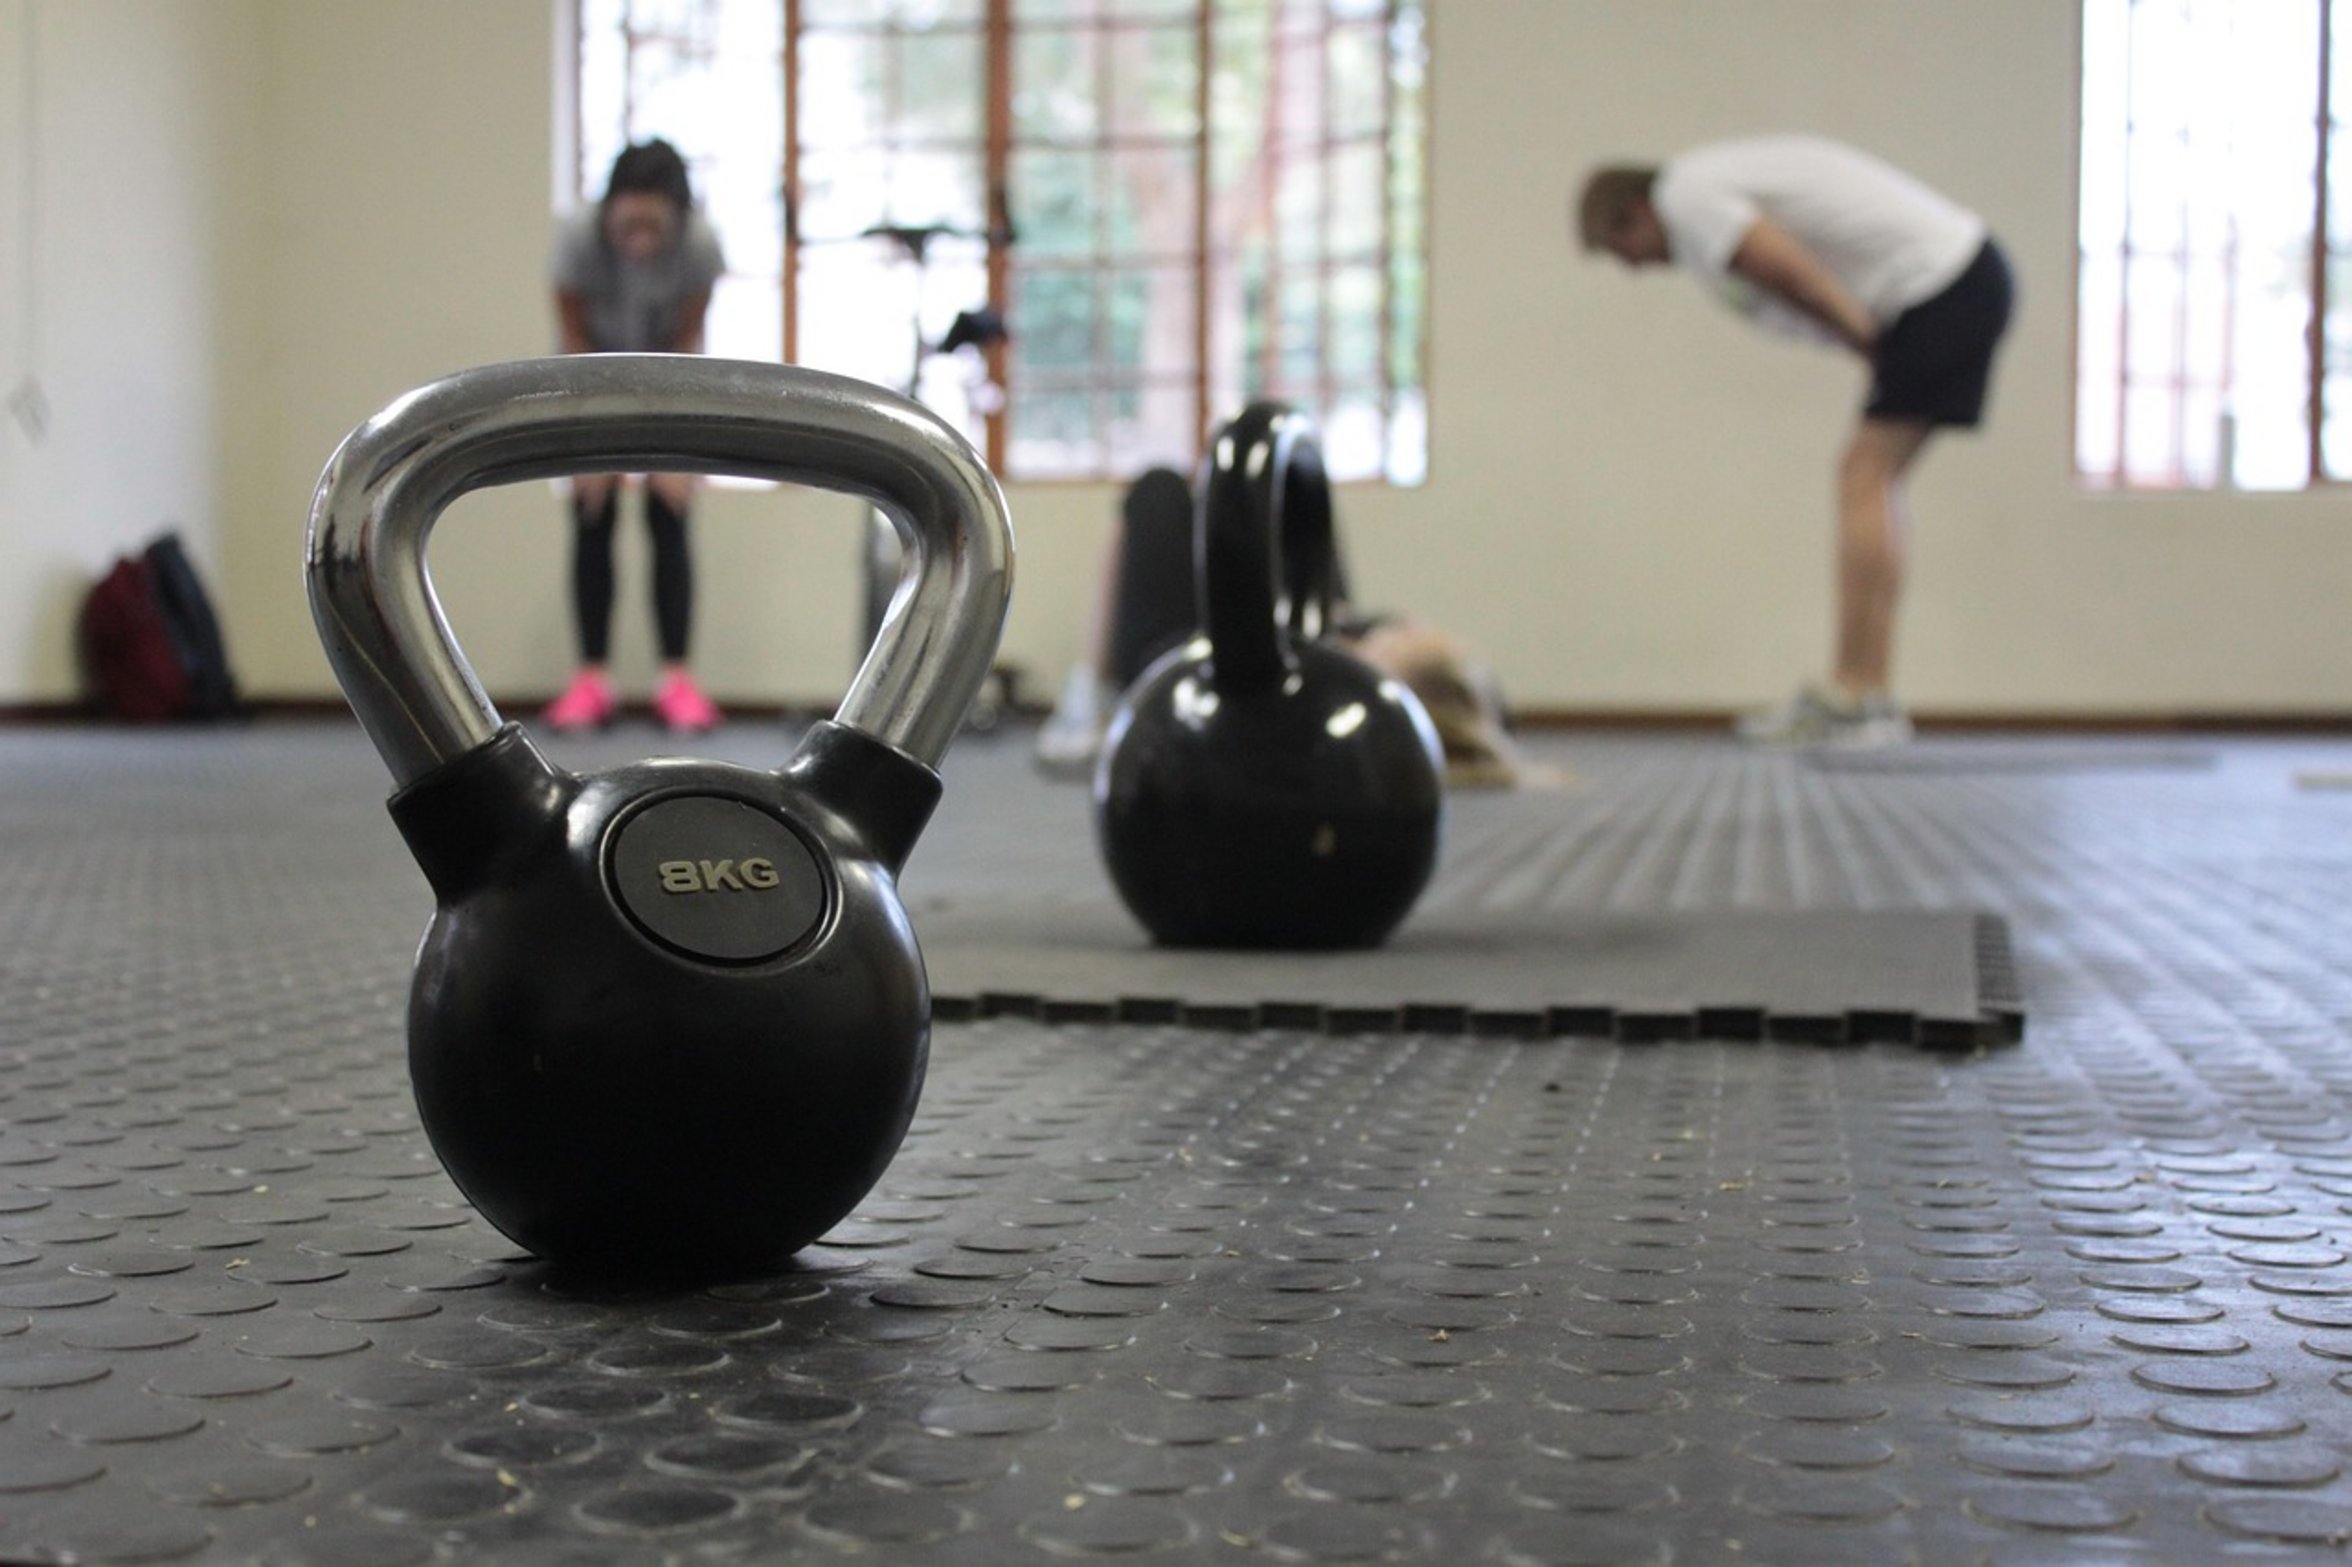
Make the key stuff accessible. Out of sight, out of mind. If you stash all your equipment in closets you’re less likely to reach for it.
The barbell in the rack screams “pick me up!” The kettlebell on the floor call your name. Build the space to get you moving. Remove the friction between you and the workout.
Begin with little, gradually introduce more, create a space that support you, not your ego. That’s how you maintain the dream.
