Belay Weight Difference Calculator
Compare climber and belayer weight, estimate the effective ratio, and see how ballast, rope friction, and brake-assist devices change the catch picture.
📌Presets
Presets fill realistic climbing team examples and recalculate immediately. Always follow gym, guide, or manufacturer rules for your actual setup.
⚙Calculator
Belay weight snapshot
Enter partner weights to compare the raw and effective catch ratio.
📊Fitness Metrics Comparison
📑Reference Tables
| Weight Relationship | Climber To Belayer | Approx Gap | Planning Note |
|---|---|---|---|
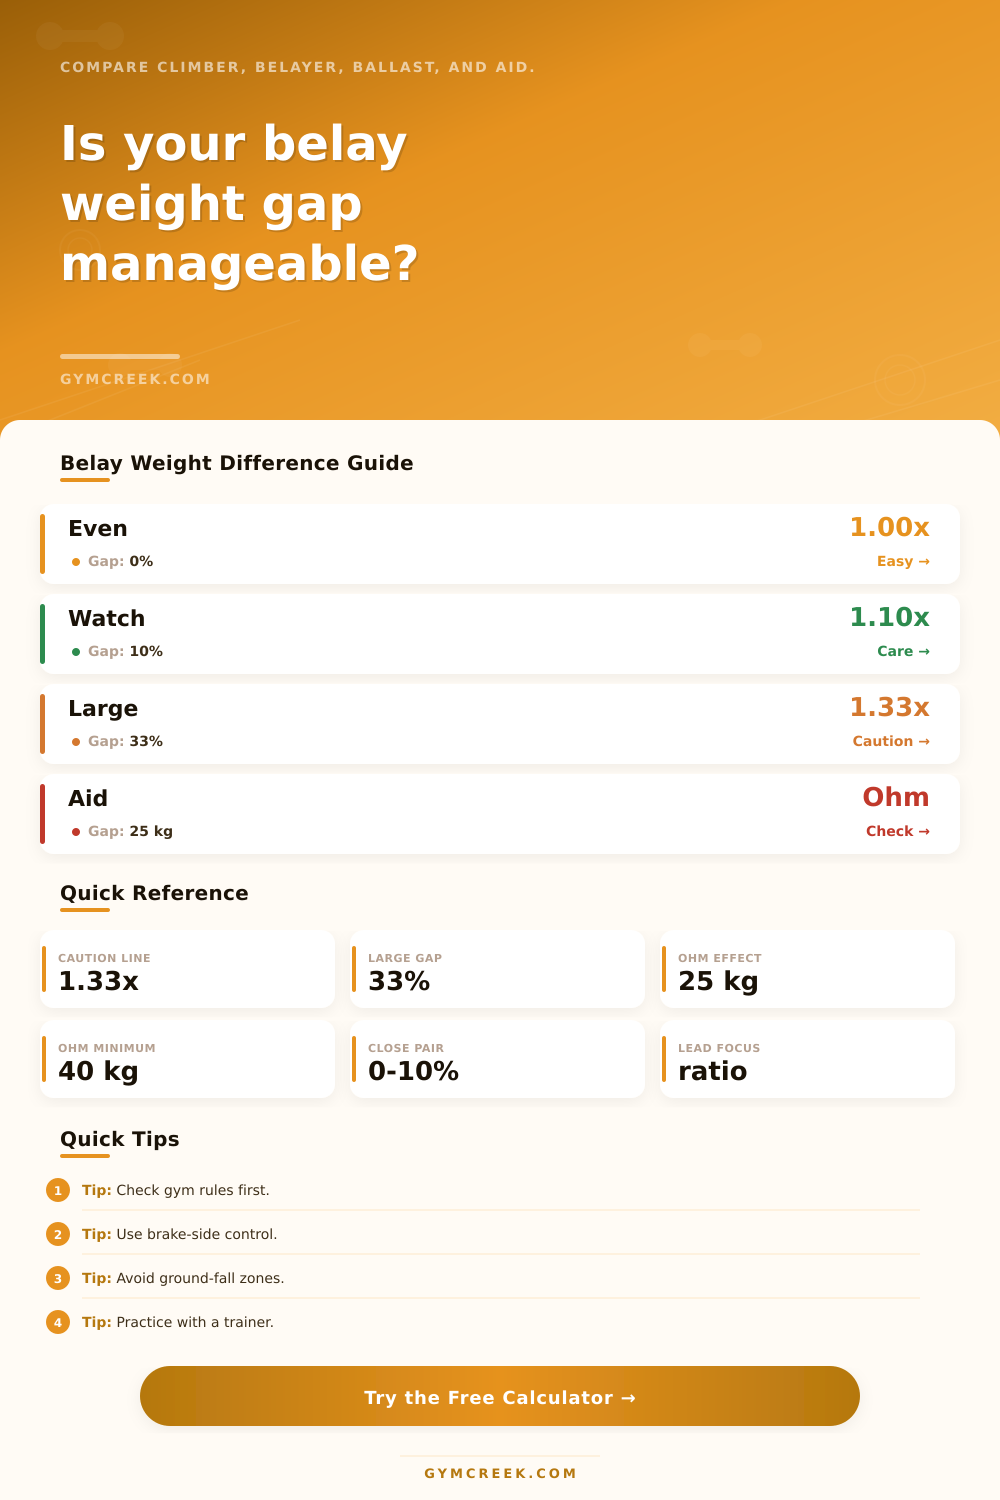
| Matched team | 0.90-1.10x | Within 10% | Usually easiest to manage with normal technique. |
| Moderate heavier climber | 1.10-1.25x | 10-25% | Review soft catch, stance, and gym policy. |
| Large heavier climber | 1.25-1.33x | 25-33% | Many teams add supervision or extra friction. |
| Very large difference | Over 1.33x | Over 33% | Use special procedures; do not rely on this estimate alone. |
| Setup | Model Factor | What It Represents | Typical Caution |
|---|---|---|---|
| Indoor lead, clean line | 1.00 | Direct catch with moderate rope friction. | Weight ratio matters strongly. |
| Steep lead, low friction | 1.10 | Cleaner rope path and more belayer lift. | Large gaps feel more dramatic. |
| Outdoor lead, rope drag | 0.88 | Extra rope friction reduces belayer pull. | Drag can make catches less dynamic. |
| Top rope redirect | 0.62 | Anchor friction reduces belayer movement. | Lower slowly with heavy climbers. |
| Fixed-point lesson | 0.35 | Anchor shares much of the load path. | Requires correct instruction and equipment. |
| Device Or Aid | Calculator Effect | Reference Use | Important Limit |
|---|---|---|---|
| Standard device | No mass credit | Normal belaying math. | Technique remains essential. |
| Assisted-braking device | Control score only | Helps brake strand management. | Does not erase weight gap. |
| Rope resistor such as Ohm | Default 25 kg or 55 lb credit | Manufacturer describes a lighter effective climber. | Use only as instructed. |
| Anchor or ballast | Adds effective belayer mass | Models a supervised countermeasure. | Must match actual setup. |
| Formula | Variables | Output | Use |
|---|---|---|---|
| Raw gap | climber - belayer | Weight difference | Partner comparison. |
| Raw ratio | climber / belayer | Mass ratio | Baseline screening. |
| Effective ratio | adjusted climber / adjusted belayer | Catch ratio | After ballast and aid. |
| Suggested ballast | climber / target - belayer | Added mass | Planning estimate. |
| Lift index | ratio x friction x fall x slack | Movement score | Compare scenarios. |
💡Tips
When you watch a bigger climber begin to lead, you find yourself with a knot in your stomach. It is not because they might fall on themselves, but because it is physics looking you directly in the eye. The relationship between belayer and climber have shifted due to their bodyweight. How difficult will device be to brake? Will you get dragged toward the wall or remain firmly planted?
Rather than taking these feelings as vague ideas of hazard, most climbers accept them as a variable of nature. That’s where we’re wrong. It’s all quantifiable, you know what the risk is prior to anybody clipping into anything. But back to weight ratio problem. Whether you’re fit and strong doesn’t really matter. Mass equals mass. Your partner might weigh double what you do? Mass will move mass. As the climber’s body suddenly halts motion, his doubled weight will swing him upward and away from the belay point, taking the lighter belayer with it. This creates a second danger: loss of braking strand control as there is now zero friction between the belayer’s feet and the ground.
Understanding Climber Weight Differences
The calculator divides both weights into the climber’s load and runs the numbers for you to provide an effective ratio that goes beyond the scale number alone. In reality, belaying someone doesn’t ever look like this (a perfect two-body physics problem). Assisted devices are often used. Rope drag exists. There is also anchor friction.
On top ropes where you’re redirecting, there’s tons of friction added, helping out a belayer who’s weaker by absorbing some of that energy before reaching their hands. On steeper leads where the line is fairly direct to the first bolt, there’s nearly no resistance at all. And the tool takes all of that into account. You choose what kind of set up you want and it changes its lift potential based off that. So it understands that a direct gym lead is different than a hanging belay on an outdoor trad route where the rope is dragging, for example.
Why? Because rope drag can hide weight differences. If you’re a big climber, you might be able to fall safely on a draggy route, but you could throw your belayer into the air on a direct indoor lead. For big differences, some teams adjust with special devices or by adding ballast. Changing the effective mass change the equation above. Entering any of those into the calculator will tell you whether they make up the difference.
While an assisted brake can give a sense of safety, it won’t remove the effect of having a massive body falling on you. If the ratio is still too much, then the force applied to your hips and arms are significant even with an assisted brake. The page includes reference tables that show the load path for various setups. These aren’t really rules so much as explanations as to why one setup is comfortabley and another isn’t.
But that’s as far as experience goes. An experienced belayer is better at dealing with a moderate weight gap than an inexperienced one. They’ll stay in a solid athletic position. They’ll control the slack with precision. They’ll take the shock into their legs, not their locked-up arms. But even then, they’re only going so far and basic mechanics are taking over. When there is a difference of more than about a third, even skilled belayers wants some form of insurance. That’s where this tool comes in. It marks these areas for you.
It also tells you if you should of use more friction or supervision, depending on your skill level and the type of fall. Also inspect the height of the first bolt before committing to the climb. If your protection point is too low, there will be a longer fall distance. This increases the amount of kinetic energy when the belayer catches you. Any weight discrepancy now multiplies its impact on you. The calculator also provides clearance data that warns you about a risky ground zone. Better to know before that scary catch.
So in the end, it’s all about trust: trusting that your partner will be able to protect you. Belaying provides perhaps the single most truthful measure of physical ability through weight difference. Take them for what they’re worth. A guide and not a gospel. They tell you where to pay more attention. And the more you know about what’s happening under you, the less tight your gut gets. You are less afraid and more prepared. And when that happens, everything changes about showing up on the wall.